When deploying the PaperCut Pocket or PaperCut Hive edge node and print client GPO, we split the deployment into two parts: first the edge node and then the print client.
Overview of deploying the edge node
- The computer app is run with elevated privileges, so it doesn’t require the user to be logged in.
- The computer app creates the PaperCut Pocket or PaperCut Hive edge node Windows service, and PaperCut Printer object.
- The edge node can be deployed without a print client. For example, you can install a super node on a Windows Server.
- The edge node must be deployed before installing the print client.
Overview of deploying the print client
- The computer app creates the print client processes for print job submission.
- It installs files and processes in the Users Security Context.
- The install runs as “Run as logged on user”.
- After successful execution, it requires the user to perform the linking process via their email invite.
Prerequisites
- You are familiar with Microsoft Group Policy.
- A shared network location to host the PaperCut Pocket or PaperCut Hive computer app installer.
Create GPOs to install the edge node and print client on the next GPO policy update
You need to create separate commands in a GPO to deploy the PaperCut Pocket or PaperCut Hive edge node and print client.
1. Create GPO to Deploy the PaperCut Pocket or PaperCut Hive edge node
-
Go to PaperCut Pocket or PaperCut Hive Admin console > Manage > Edge Mesh > Add an edge node.

PaperCut Pocket/PaperCut Hive admin interface - Add an edge node
-
Select Manually deploy edge nodes.
-
Click Download for Windows to download the PaperCut Pocket or PaperCut Hive computer app (papercut-pocket.exe or paperCut-hive.exe). Then copy the downloaded file
papercut-pocket.exe or papercut-hive.exeto a shared network location which is accessible from end user computers. -
Click the Copy button under Step 2 to copy the command line, and then paste the command line into a text editor. You will need the
/systemkey&/region(if applicable) value later.
-
Open a new Notepad file, copy the following PowerShell script, and paste it into the file:
#PowerShell Example Script to install PaperCut Hive edge node v1.0 via GPO

$folder = 'C:\Program files\PaperCut Hive'

if (-not (Test-Path -Path $Folder)) {

    start-process -FilePath "\\server\share\papercut-hive.exe" -ArgumentList '/VERYSILENT /region="region" /systemKey="xxxxxxxxxxx"'

    }

else  { }
- Replace the
/regionvalue in the script with the/regionvalue you noted down in Step 4. If there is none present, remove the /region key from the PowerShell Script. - Replace the
/systemkeyvalue in the script with the/systemkeyvalue you noted down in Step 4. - Edit the -FilePath to the UNC path of where you have made the papercut-pocket.exe or papercut-hive.exe available.
- Save the Notepad file as PaperCut_Pocket_edge_node_install.ps1 or PaperCut_Hive_edge_node_install.ps1 in an approprate location.
- Open Microsoft Group Policy Management and navigate to Domain and the OU that you want to apply the GPO to.
- Right-click the OU and select Create a GPO in this domain, and Link it here….
- In the diaglog box that appears, in the Name field give the GPO a name like PaperCut Pocket edge node Install or PaperCut Hive edge node Install. Leave the Source Starter GPO as (none).
- On the PaperCut Pocket edge node Install or PaperCut Hive edge node Install GPO under the approprate OU, right-click and select Edit.
- In the Group Policy Management Editor, expand Computer Configuration, Policies, Windows Settings and click Scripts (Startup/Shutdown).
- From the right pane, double-click Startup to configure the Startup Properties.
- Select the PowerShell Scripts tab, click the Add button, and browse to the location of the PaperCut_Pocket_edge_node_install.ps1 or PaperCut_Hive_edge_node_install.ps1 PowerShell script you created earlier.
- Click Ok to close the Edit Script dialog box, then click OK to close the Startup Properties dialog box.
- Finally,click the cross in the top right corner of the Group Policy Management Editor dialog box to close it.
You have now sucessfully created a GPO to deploy the PaperCut Pocket or PaperCut Hive edge node to end-user computers. As user computer GPO policies are updated, the PaperCut Pocket or PaperCut Hive edge node will be automatically installed.
2. Create GPO to Deploy PaperCut Pocket or PaperCut Hive print client
For the PaperCut Pocket or PaperCut Hive print client, you need to copy the installation command syntax from the InTune Add-on instructions. This contains the /userkey switch that signals the papercut-pocket.exe or papercut-hive.exe to create the User directories and processes.
-
From the PaperCut Pocket or PaperCut Hive Admin console, under Manage select Add-ons > All Add-ons > Desktop App Deployment with Microsoft Intune.
-
Click Learn More and Add. The Intune Add-on will now be part of your “Added” Add-ons.

PaperCut Pocket/PaperCut Hive - InTune Add-on
-
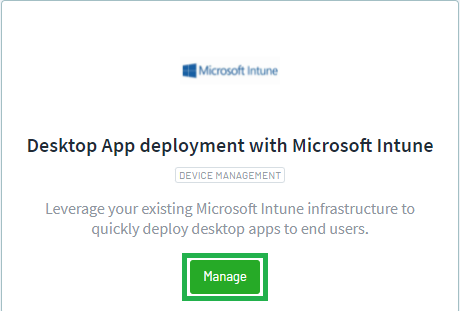
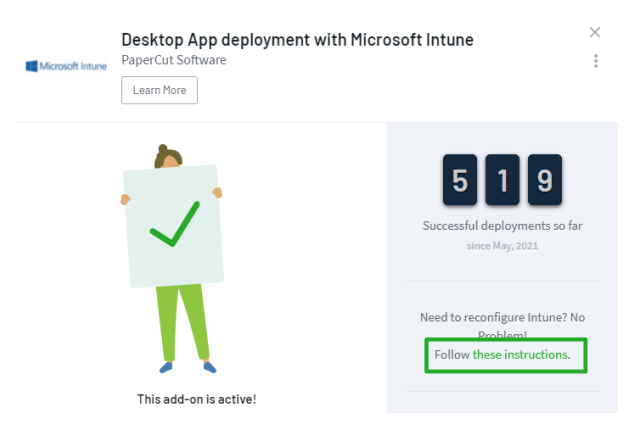
On the Intune Add-on card, select Manage and Follow these instructions.

PaperCut Pocket/PaperCut Hive - InTune Add-on
-
Select View setup Process and scroll down to Install user component.
-
Copy the Install command string from Step 6 and paste it into a text editor.

PaperCut Pocket/PaperCut Hive - print client /userkey
-
Open a new Notepad file, copy the following PowerShell script, and paste it into the file:
#PowerShell Example Script to install PaperCut Hive print client v1.0 via GPO
$folder = '%localappdata%\Programs\PaperCut Hive'

if (-not (Test-Path -Path $Folder)) {

    start-process -FilePath "\\server\share\papercut-hive.exe" -ArgumentList '/VERYSILENT /region="region" /CURRENTUSER /userkey="xxxxxxxxxxx" /orgid="zzzzzzzz"'

    }

else  { }
- Replace the
/regionvalue in the script with the/regionvalue you noted down in Step 5. If there is none present, remove the /region key from the PowerShell Script. - Replace the
/userkeyvalue in the script with the/userkeyvalue you noted down in Step 5. - Replace the
/orgidvalue in the script with the/orgidvalue you noted down in Step 5. - Edit the -FilePath to the UNC path of where you have made the papercut-pocket.exe or papercut-hive.exe available.
- Save the Notepad file as PaperCut_Pocket_print_client_install.ps1 or PaperCut_Hive_print_client_install.ps1 in an approprate location.
- Open Microsoft Group Policy Management and navigate to Domain and the OU where you created the PaperCut Pocket Edge Node Install or PaperCut Hive Edge Node Install GPO.
- Right-click the OU and select Create a GPO in this domain, and Link it here….
- In the diaglog box that appears, in the Name field give the GPO a name like PaperCut Pocket print client Install or PaperCut Hive print client Install. Leave the Source Starter GPO as (none).
- On the PaperCut Pocket print client Install or PaperCut Hive print client Install GPO under the approprate OU, right-click and select Edit.
- In the Group Policy Management Editor, expand User Configuration, Policies, Windows Settings, and click Scripts (Logon/Logoff).
- From the right pane, double-click Logon to configure the Logon Properties.
- Select the PowerShell Scripts tab, click the Add button, and browse to the location of the PaperCut_Pocket_print_client_install.ps1 or PaperCut_Hive_print_client_install.ps1 PowerShell script you created earlier.
- Click Ok to close the Edit Script dialog box, then click on OK to close the Logon Properties dialog box.
- Finally, click the cross in the top-right corner of the Group Policy Management Editor dialog box to close it.
You have now successfully created a GPO to deploy the PaperCut Pocket or PaperCut Hive print client to end-user computers. As user computer GPO policies are updated, the PaperCut Pocket or PaperCut Hive print client will be automatically installed.
After deployment
After you’ve deployed both components, spot-check a few Windows clients to ensure the following:
- In Task Manager, check the
pc-edgenode-serviceis running.
The Windows PC requires this service to perform Edge Mesh activities such as receiving, replicating, or printing jobs if the PaperCut Cloud Service calls upon it. - In Task Manager, check that
pc-print-client-service.exeis running.
This is the print client needed to initially link the end-user to PaperCut Pocket or PaperCut Hive and submit jobs via the PaperCut Printer. This process must be running in memory to provide the functions for the user to print jobs via the PaperCut Printer.
If either of these is not running, contact your PaperCut reseller and provide copies of the logs.
Locations of logs
- Edge node service and setup logs:
C:\Program Files\PaperCut Hive\data\logsorC:\Program Files\PaperCut Pocket\data\logs - User print client logs:
%AppData%\Local\Programs\PaperCut Hive\data\logsor%AppData%\Local\Programs\PaperCut Pocket\data\logs - User client setup logs:
%AppData%\Local\Programs\PaperCut Hive\data\logsor%AppData%\Local\Programs\PaperCut Pocket\data\logs%AppData%\Local\Temp


Comments