For managed ChromeOS devices, you can automate installing the PaperCut Hive and Pocket Chrome extension on users’ devices, ready for the devices to be linked back to the related user in the Users list in the admin console.
Once the Chrome extension is deployed to the user’s device, there are a number of methods for linking the extension. The linking procedure differs depending on which of the 2 primary PaperCut Hive and Pocket onboarding methods - Classic invitation or User Portal - has been set.
More information about:
- linking, see Linking the Chrome extension as an end user
- onboarding methods, see User Portal and Classic email invitation - overview.
Chrome extension App IDs
Our Chrome extensions are not publicly listed in the Chrome store. Here are the App IDs that we use with the deployment process.
Please note, if you prefer, the full App Store URL can be provided to allow users to manually install the extension. Additionally, users can self-serve the extension from the User Portal.
PaperCut Pocket
App ID - ejbefnkdjpincjafmcpbbbgabheblnlc
https://chrome.google.com/webstore/detail/papercut-pocket-print-bet/ejbefnkdjpincjafmcpbbbgabheblnlc
PaperCut Hive
App ID - pdlopiakikhioinbeibaachakgdgllff
https://chromewebstore.google.com/detail/papercut-hive-secure-prin/pdlopiakikhioinbeibaachakgdgllff
Pre-install steps
Before installing the Chrome extension, you will need your Organization ID and data center.
Find your organization ID
- Log in to your PaperCut Hive or Pocket admin console.
- Click your email address at the top right corner and select Billing and Subscription. You will find the Org ID in the subscription certificate window.
- Save the Org ID for later.

Find your data center
- Log in to your PaperCut Hive or Pocket admin console.
- Click your email address at the top right corner and select Settings.
- Scroll down the page to Data Center. Identify your data center region.

- Abbreviate your data center region using this table, and save for later.
| Admin console Data Center | Abbreviate to |
|---|---|
| United States | us |
| European Union | eu |
| United Kingdom | uk |
| Australia | au |
Install the Chrome extension
-
On your Google Admin Workspace, go to Devices>Chrome>Apps & extensions>Users & browsers*.*
-
Select the Organizational unit you want to deploy the app to.
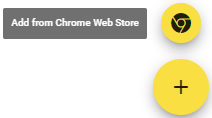
-
Select the + icon and Add from Chrome Web Store.
-
In the View app by ID search bar, enter the chosen app ID, then choose Select.
-
Select the PaperCut Hive or Pocket extension from the list. Under the Policy for extensions, copy and paste this template. Then fill in the ID value with the organization ID you saved earlier, and the RegionCode with the data center previously saved.
{ "Organization": { "Value": { "Id": "ORG ID", "RegionCode": "xx" } } }
-
Optional step (recommended) - Change the Installation policy to Force install + pin to browser toolbar

The extension is now installed automatically to the ChromeOS devices. When successfully installed, it will show up in the Chrome Browser extension’s tab.
Link the Chrome extension as an end user
There are 3 primary ways a user’s Chrome extension can be linked to their username in the PaperCut Hive or Pocket admin console Users list.
-
User clicks the Chrome extension via the extension list or toolbar
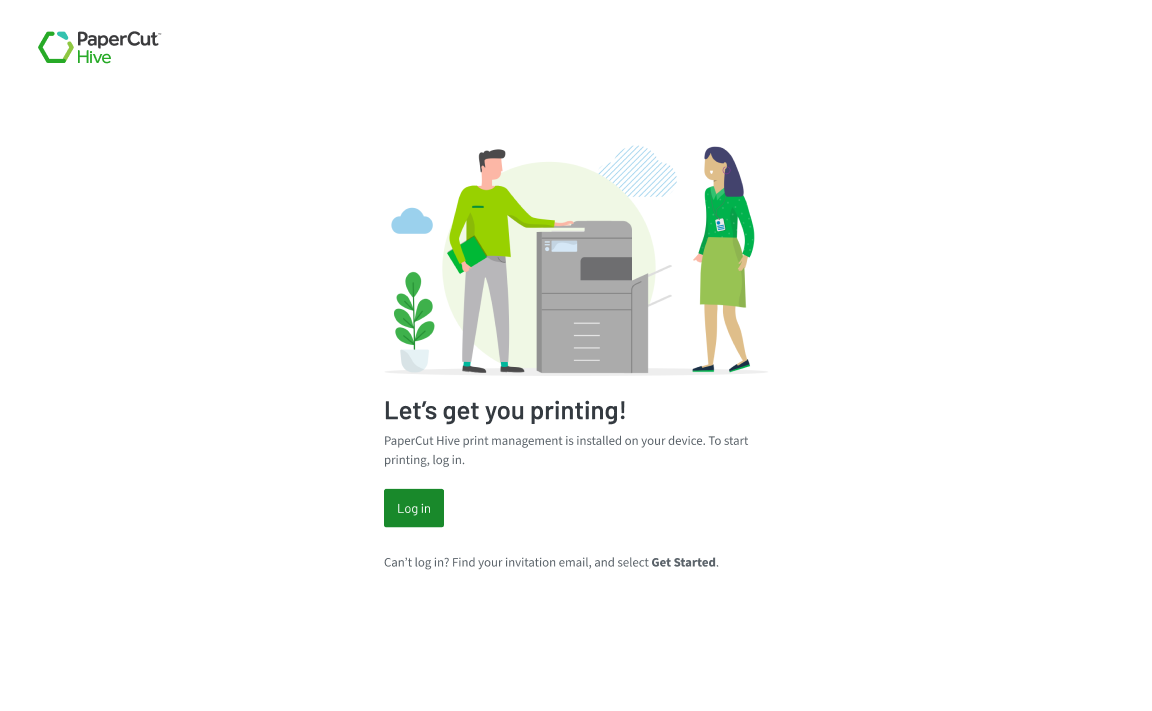
If the user selects the extension while it is unlinked, they will see this login screen.
 Classic Invitation - When the user opens up the Classic Invitation email, selects Get Started, the Chrome extension will automatically link to that user.
Log in - If the user has credentials that match the organizations authentication settings, then after going through the log in process, the Chrome extension will link to them.
Please note that after linking, for the PaperCut Printer to appear they might need to cancel the print job and re-print it (or refresh the page).
-
User prints a document
When the user attempts to print a document, if the Chrome extension is installed and unlinked, a new tab will automatically open with the same log in screen as above. The two linking flows are the same.
Please note that after linking, for the PaperCut Printer to appear, they might need to cancel the print job and re-print it (or refresh the page).
-
User logs in to the User Portal
The User Portal will automatically detect the Chrome extension. If the extension is unlinked, the User Portal will automatically link it to the logged in user.
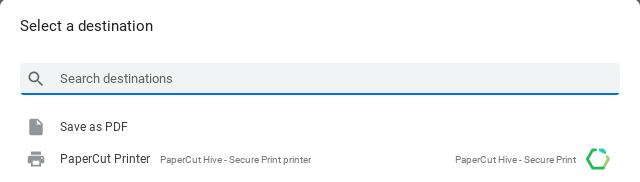
Confirm the extension and PaperCut Printer have linked successfully
On ChromeOS, after successfully installing and linking the extension, the PaperCut Printer will appear in the Print dialog with the PaperCut Hive or Pocket icon next to it, similar to the screenshot below.
Additionally, when linking is complete, the user will see the following page.

Frequently Asked Questions (FAQ)
What happens if I deploy without the Org ID and Data Center JSON?
In this scenario, when the user clicks the Log in button, the extension does not know which Organizational login page to direct them to.
Therefore they will be directed to the default login.papercut.com . When they enter their email, they will then be sent to the Organization login page associated with their email.
What if a user has multiple Chromebooks or ChromeOS devices?
Is PaperCut Hive & Pocket supported on shared Chromebooks?
Yes, the Chrome extension is supported on shared Chromebooks, provided each user has a unique user account.
As an administrator, you will need to deploy the extension to all users who use the device. Each user will need to perform the linking steps described above.
Why is the extension not available if I search the Google Play Store?
Can I install the extension in a Chrome browser running on another operating system?
Technically yes, our Chrome extension can be installed in any Chrome browser.
However, we would not recommend doing this as users might see the PaperCut Printer listed more than once when printing. We recommend using the setup steps and app installation for the specific operating system to ensure users have the native print experience for their operating system.
Comments