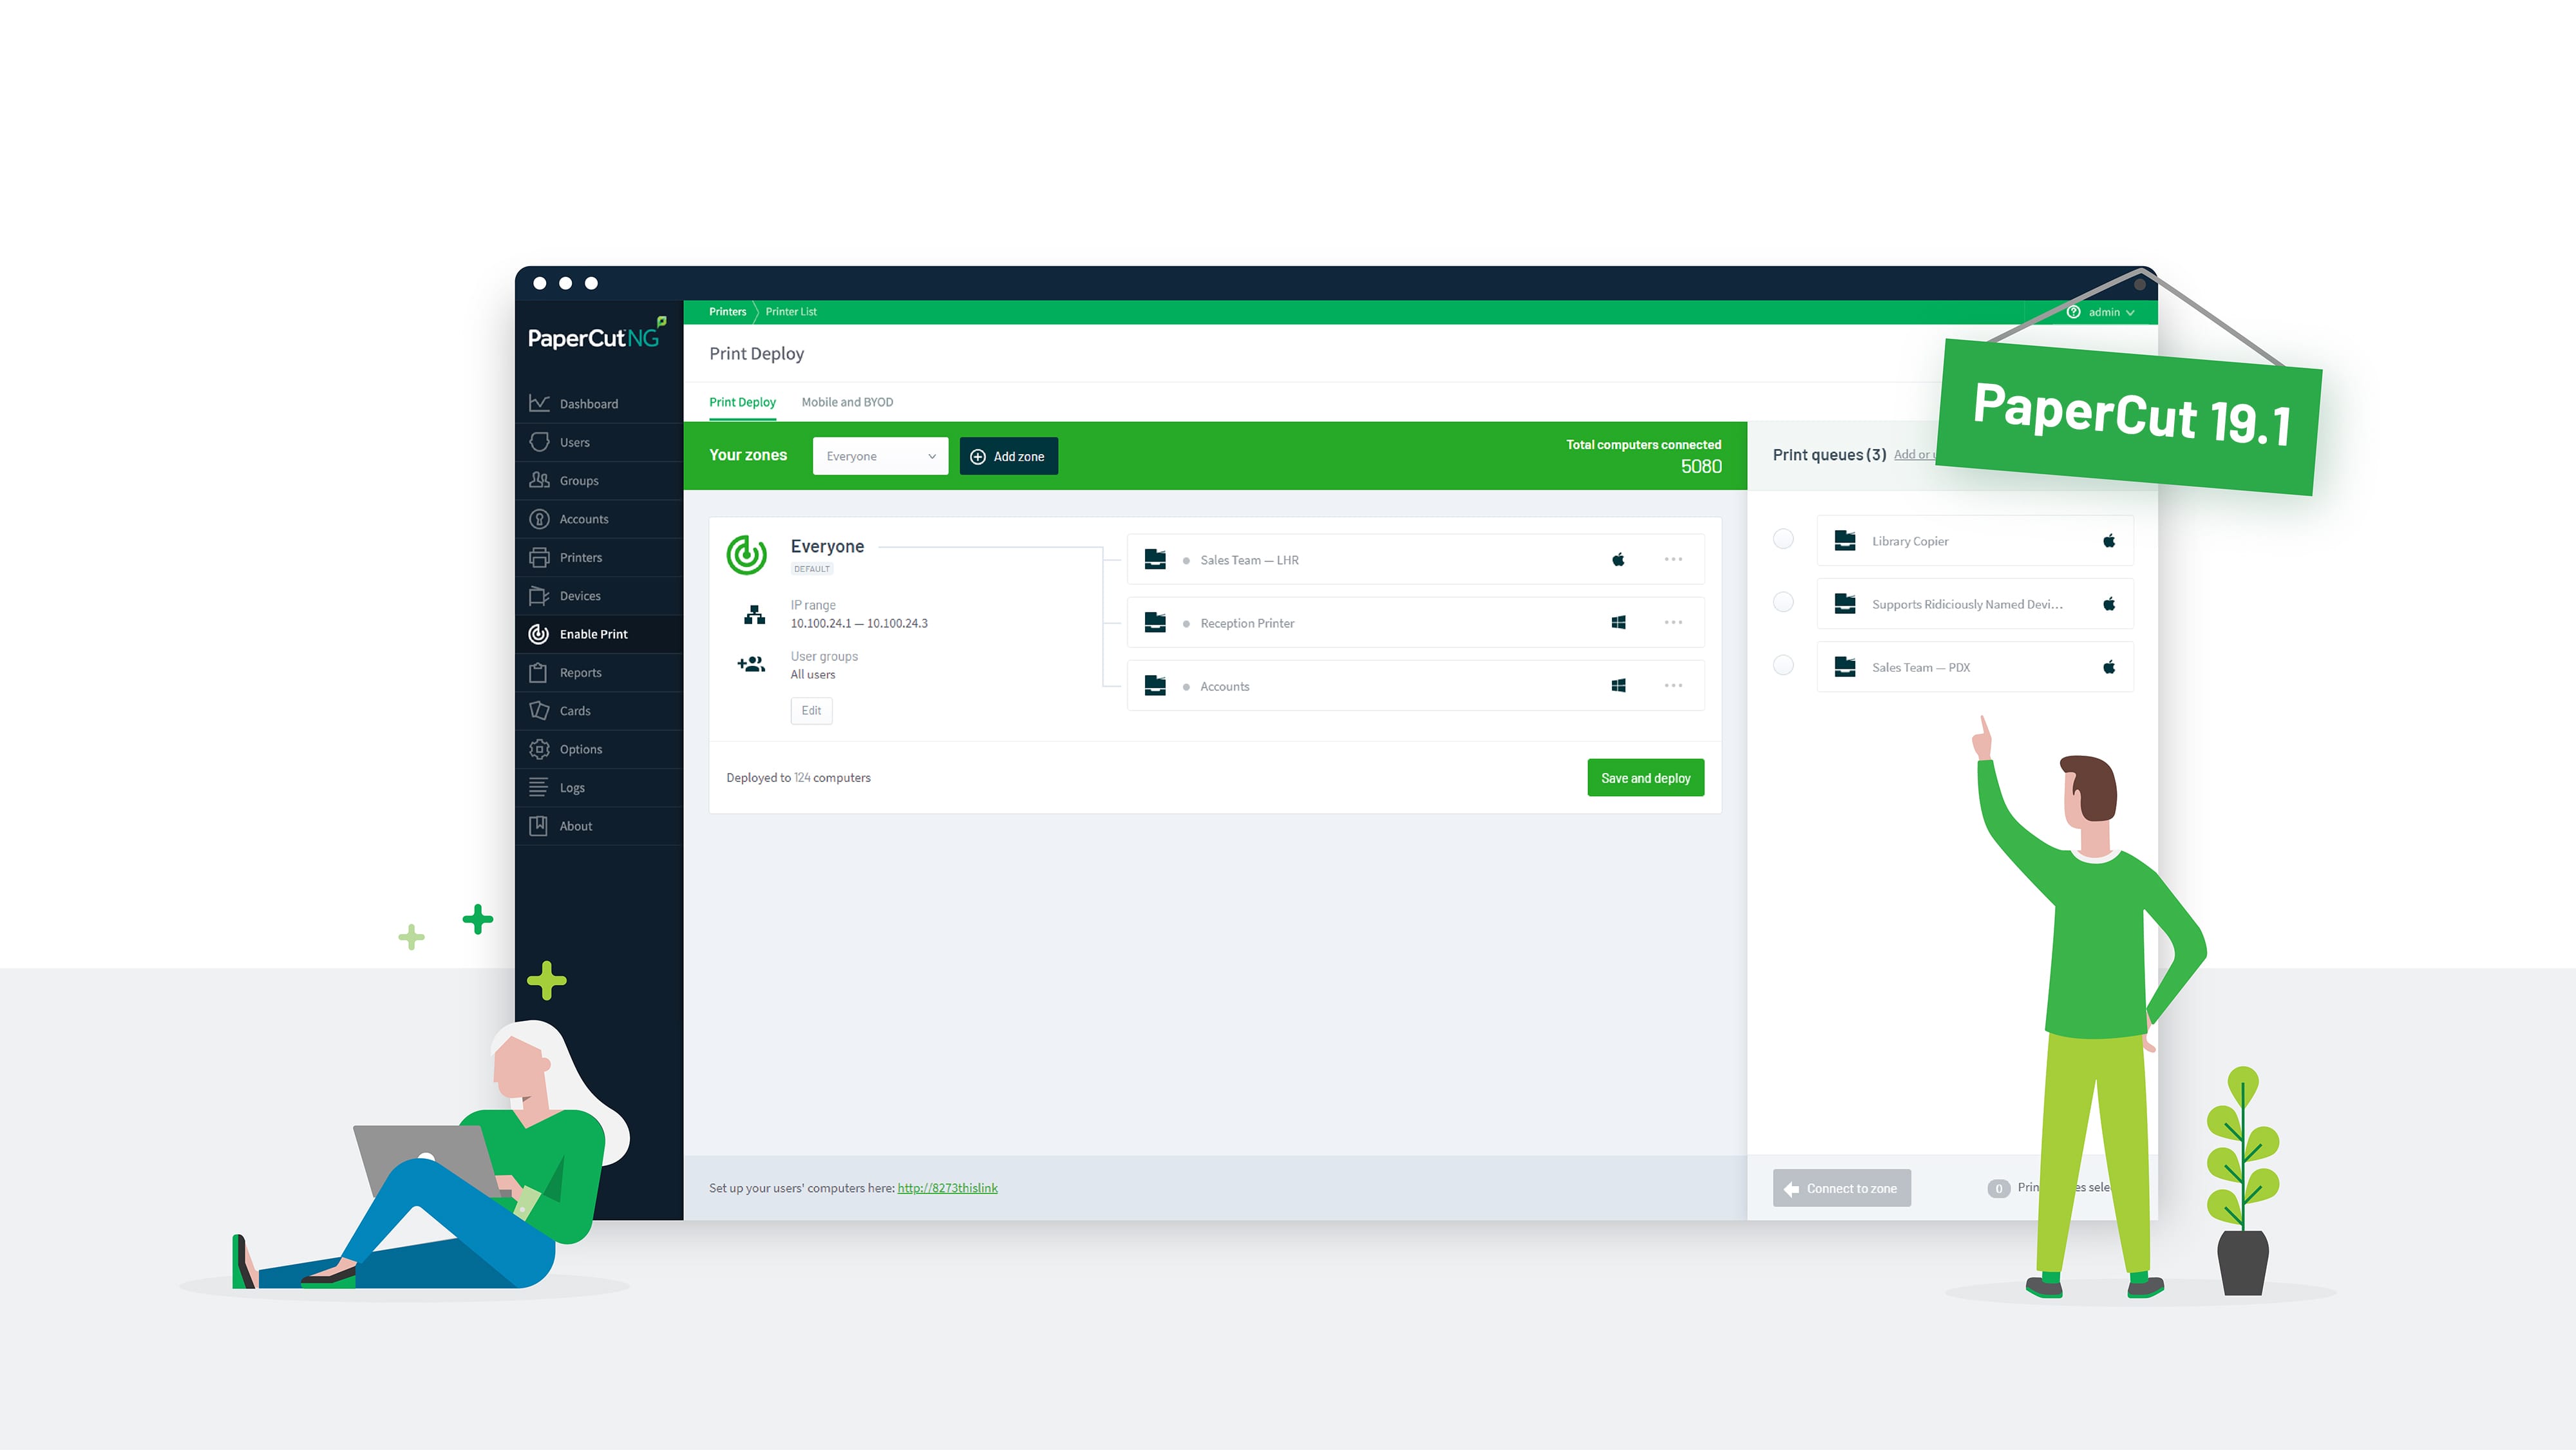
For many, the release of PaperCut 19.1 is all about Print Deploy. But for us here in the Integrations team, there are some absolute delights that I want to share with you now thanks to new server command features and API calls.
Here are three problems that’ve been bugging sys admins that, well, won’t bug them anymore thanks to 19.1:
- You can set multiple printer properties at a time
- You can update device settings without having to restart the device (sort of, I’ll explain more later)
- We now have full automation of cost models
Let’s go discover them in detail.
Set multiple printer properties at a time
When it comes to setting multiple printer and device attributes, it is often quite time consuming and tedious for administrators, as this would result in many calls to server-command set-printer-property and/or the subsequent API call setPrinterProperty().The same is also true for getting multiple printer and device attributes via the getPrinterProperty() call.
In PaperCut NG/MF 19.1, there are new web services API calls that remedy this.
get/setPrinterProperties() allows you to pass in a list of properties that will all get processed at once.
For example:
setPrinterProperties(auth_token, server, printer, [" ….. "])
Update device settings
One thing many people don’t realize is that you configure multi-function devices with the set-printer-property command, via the server-command utility, or via the setPrinterProperty() web services API.
For instance, you can configure the authentication settings for all your devices from a single command line script. More information here and we also created a sample script for you to look at.
There is a ‘gotcha’ with this feature because, after updating device settings through the server-command, or web services API, administrators need to log on to the Application Server and hit the ‘Apply’ button for the device to update with the new settings (alternatively you can be very patient and wait for the device to reboot). This can be quite annoying and time consuming.
In PaperCut MF/NG 19.1, we’ve added a new server-command that provides a better workflow for administrators. After updating device settings, administrators should use the apply-device-settings command (or the applyDeviceSettings() API call) to apply the new settings on each device (or you can wait until the device reboots).
Cost model automation
PaperCut MF/NG provides a lot of flexibility in setting various cost models for printers and copiers. There is more information here , but the basic idea is that administrators need to:
-
Configure specific cost model for a printer (you can create a model for simple, standard, category, size, length and area). For instance:
setPrinterProperty(server, printer, “advanced-config.cost.pst.default.color.duplex”, 0.3) -
Once you have a least one model defined you can then assign the model to the printer as the
"current cost model".
The problem is that until now you could only complete step 2 manually using the web browser admin interface.
But in 19.1, you can now automate the process through the server-command utility and/or web services API, simply by updating the printer attribute “cost-model”.
For example, here it is using the server command utility:
server-command set-printer-property server printer "cost-model" "size_table"
Here is a complete set of commands to retrieve cost model information for an MFD in PaperCut MF, using Windows Powershell:
& 'C:\Program Files\PaperCut MF\server\bin\win\server-command.exe' get-printer-property device dev-test-device  cost-model
If this returns "SIZE_TABLE" then we use "pst" in following examples
& 'C:\Program Files\PaperCut MF\server\bin\win\server-command.exe' get-printer-property device dev-test-device   cost-model
& 'C:\Program Files\PaperCut MF\server\bin\win\server-command.exe' get-printer-property device dev-test-device   advanced-config.cost.pst.a3.color.duplex
& 'C:\Program Files\PaperCut MF\server\bin\win\server-command.exe' get-printer-property device dev-test-device   advanced-config.cost.pst.a3.color.simplex
& 'C:\Program Files\PaperCut MF\server\bin\win\server-command.exe' get-printer-property device dev-test-device   advanced-config.cost.pst.a3.grayscale.duplex
& 'C:\Program Files\PaperCut MF\server\bin\win\server-command.exe' get-printer-property device dev-test-device   advanced-config.cost.pst.a3.grayscale.simplex
& 'C:\Program Files\PaperCut MF\server\bin\win\server-command.exe' get-printer-property device dev-test-device   advanced-config.cost.pst.a3.enabled
& 'C:\Program Files\PaperCut MF\server\bin\win\server-command.exe' get-printer-property device dev-test-device   advanced-config.cost.pst.a4.color.duplex
& 'C:\Program Files\PaperCut MF\server\bin\win\server-command.exe' get-printer-property device dev-test-device   advanced-config.cost.pst.a4.color.simplex
& 'C:\Program Files\PaperCut MF\server\bin\win\server-command.exe' get-printer-property device dev-test-device   advanced-config.cost.pst.a4.grayscale.duplex
& 'C:\Program Files\PaperCut MF\server\bin\win\server-command.exe' get-printer-property device dev-test-device   advanced-config.cost.pst.a4.grayscale.simplex
& 'C:\Program Files\PaperCut MF\server\bin\win\server-command.exe' get-printer-property device dev-test-device   advanced-config.cost.pst.a4.enabled
& 'C:\Program Files\PaperCut MF\server\bin\win\server-command.exe' get-printer-property device dev-test-device   advanced-config.cost.pst.default.color.duplex
& 'C:\Program Files\PaperCut MF\server\bin\win\server-command.exe' get-printer-property device dev-test-device   advanced-config.cost.pst.default.color.simplex
& 'C:\Program Files\PaperCut MF\server\bin\win\server-command.exe' get-printer-property device dev-test-device   advanced-config.cost.pst.default.grayscale.duplex
& 'C:\Program Files\PaperCut MF\server\bin\win\server-command.exe' get-printer-property device dev-test-device   advanced-config.cost.pst.default.grayscale.simplex
& 'C:\Program Files\PaperCut MF\server\bin\win\server-command.exe' get-printer-property device dev-test-device   advanced-config.cost.pst.default.enabled
If this returns “SIZE_TABLE” then we use “pst” in following examples:
And this is it using our friendly web services API. Compare the effort required:
getPrinterProperty(authToken, device, dev-test-device, "cost-model")
If this returns “SIZE_TABLE” then we use “pst” in the following examples:
getPrinterProperties(authToken, device, dev-test-device, [
“cost-model”
"advanced-config.cost.pst.a3.color.duplex",
"advanced-config.cost.pst.a3.color.simplex",
"advanced-config.cost.pst.a3.grayscale.duplex",
"advanced-config.cost.pst.a3.grayscale.simplex",
"advanced-config.cost.pst.a3.enabled",
"advanced-config.cost.pst.a4.color.duplex",
"advanced-config.cost.pst.a4.color.simplex",
"advanced-config.cost.pst.a4.grayscale.duplex",
"advanced-config.cost.pst.a4.grayscale.simplex",
"advanced-config.cost.pst.a4.enabled",
"advanced-config.cost.pst.default.color.duplex",
"advanced-config.cost.pst.default.color.simplex",
"advanced-config.cost.pst.default.grayscale.duplex",
"advanced-config.cost.pst.default.grayscale.simplex",
"advanced-config.cost.pst.default.enabled"
]);
And on one of our test systems we get the following output:
SIZE_TABLE
0.07
0.07
0.04
0.04
Y
0.03
0.03
0.01
0.01
Y
0.1
0.1
0.05
0.05
Y
Or the web services call will return an array containing the same data above:
[SIZE_TABLE,0.07,0.07,0.04,0.04,Y,0.03,0.03,0.01,0.01,Y,0.1,0.1,0.05,0.05,Y]
If you want more information on using our web services API, this knowledge base article makes a great jumping off point. Plus, we have a Google Group where you can ask questions.


