Did you know that, by default, PaperCut MF and NG retain users even when they no longer exist in your directory?
I chat with many customers, and they tell me how they remove users from their directory or move them to an inactive user group (e.g., Active Directory) as soon as someone leaves the business. They then ask me why doesn’t PaperCut delete them as well?
Well, there’s a method in our madness…
-
Many of our education customers offer users credit for their PaperCut balances, and students often top-up their accounts with their own money. Imagine if this disappeared without record, and they ask you for a refund or return next term. Nightmare!
-
Also, PaperCut MF has over 80 inbuilt reports to give you an insight into your user’s printing behavior. We want to make sure you can still run filtered reports against these historical users until you’re sure you’re ready to remove them from the system.
So, how do I remove them when I’m sure I no longer need them?
In PaperCut MF/NG, we offer the ability to delete users that no longer exist in your directory when you’re sure they’re no longer needed.
Not many people know about this option, but it couldn’t be a simpler process to run through.
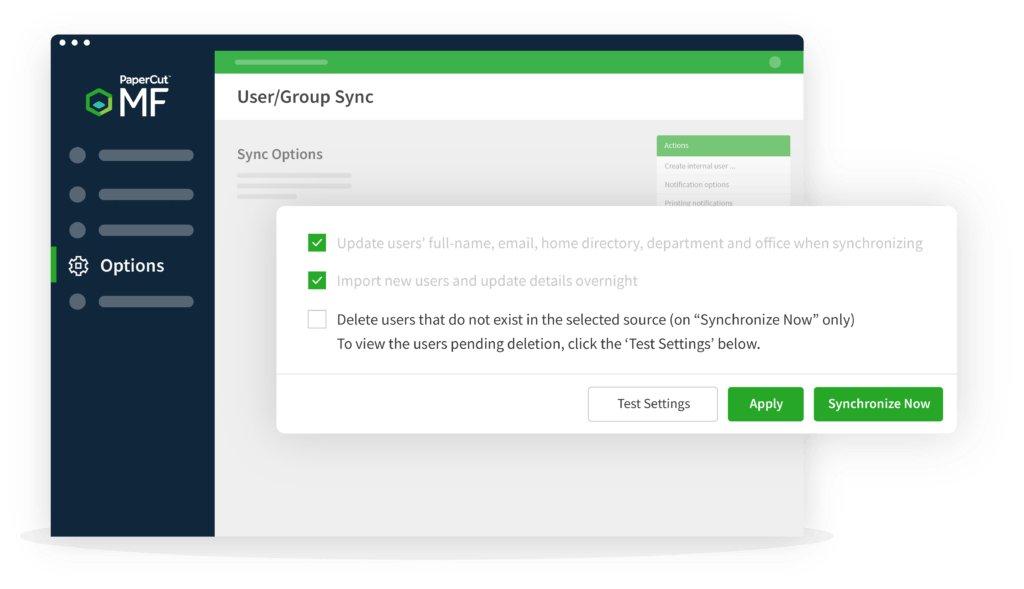
Jump over to Options > User/Group Sync and look for the option to Delete users that do not exist in the selected source.
After checking the box, I highly recommend using the Test Settings option. That way, you know who’s getting deleted. When you’re happy, hit Synchronize Now.

Boom! Job done. Users deleted and a much tidier PaperCut system.
What if I don’t want to import them in the first place?
Don’t worry, you’re not alone. Syncing everyone from your directory often leads to various unwanted accounts (such as service accounts and people based in other departments or organizational units (OUs)) being imported. This can make it more challenging to manage your installation as your list of users grows out of control.
We’ve got two solutions for this:
1. Refine your user sync to only import the users you need
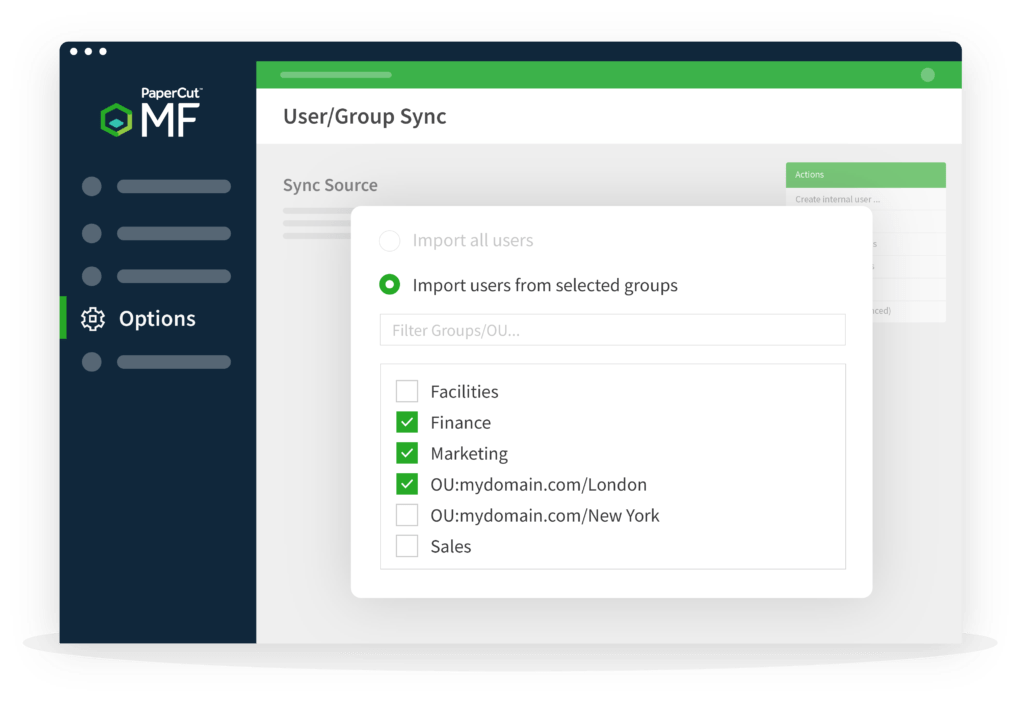
When you sync users into PaperCut MF/NG, you have the option to configure your sync to only import users from selected groups or departments. This helps make sure you only get the users you want to be imported into PaperCut MF/NG.
To set this up, go to Options > User/Group Sync and switch over to Import users from selected groups. Click Select Groups and check each of the groups or OUs that you want to import.

Once configured, hit Apply, and then use our handy Test Settings option before performing a sync. This option will confirm how many users will be added or removed (it wouldn’t be the first time we’ve seen someone wipe out all of their users by choosing the wrong group and not testing it. Oopsie…).
When you’re happy with the test results, make sure to hit the Synchronize Now button. You may also want to check the Delete users that do not exist in the selected source option that we mentioned above for removing any users that are not in the new groups or OUs. This option allows you to clear out the users that are not in the newly selected groups.
2. Switch over to using on-demand user creation
Adjust your settings, so only users who interact with PaperCut NG / MF or print their first job get created in the system.
Go to Options > User/Group Sync > Sync Settings and switch off the option: Import new users and update details overnight. This stops users from being automatically pulled in from the directory.
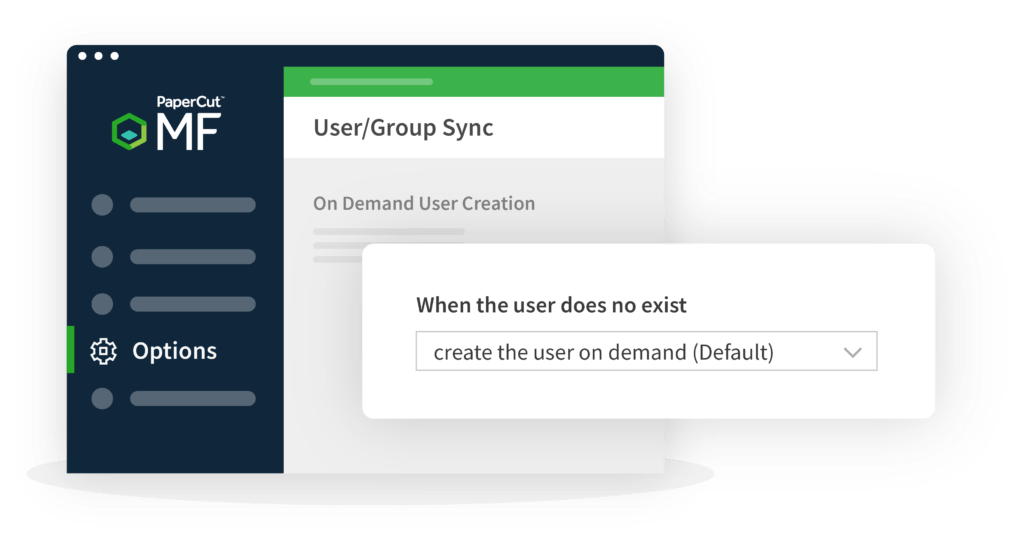
Scroll further down the page and confirm that the On Demand User Creation setting is set to create the user on demand (Default)

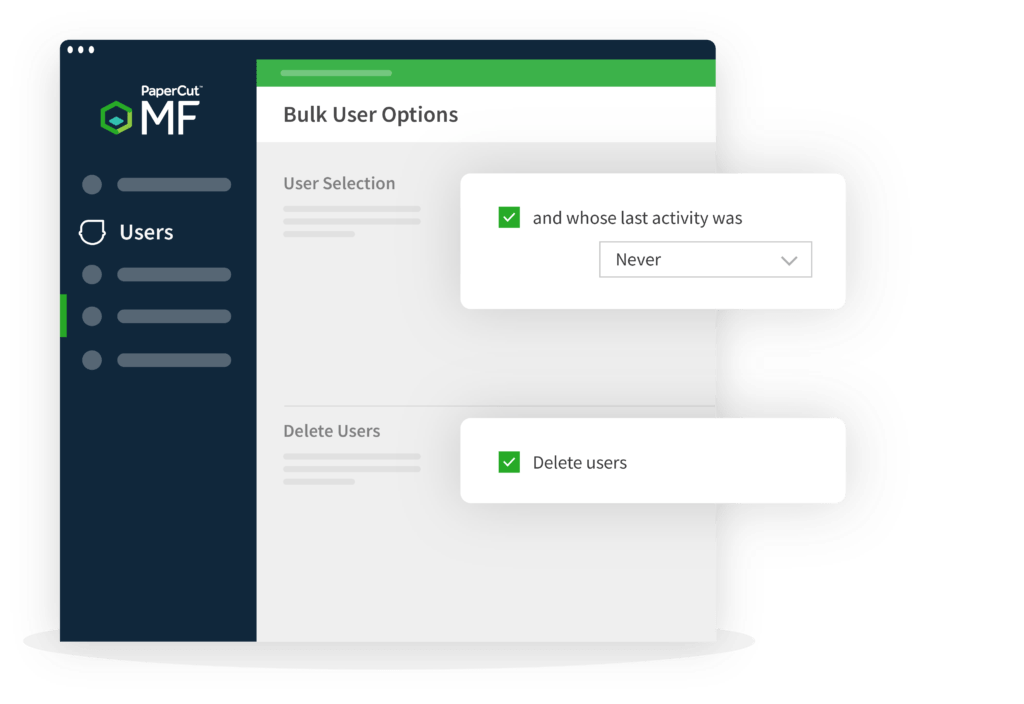
The optional final step is to remove all of the users that have never used the system.
Go to Users and from the right-hand menu, select Bulk User Actions.
From here, there are two options you need to select before hitting OK and removing the users with no activity.

If you have any questions, queries or need a little help working through any of the settings above (or anything else PaperCut related), please get in touch with our support team .


