To login to your User Client, follow either of the methods below:
User Client:
- If you already have the User Client installed, double click on the Papercut icon in the system tray, and then click on “details” in the balance prompt.
- Enter your username and password to login.
User console URL:
Please note that Web Print URL is unique to your organization. To obtain your User console URL, please speak to your local IT team/system admin, they will be able to sort you out!
To submit a Web Print job:
Log in to the PaperCut NG/MF user interface; then click the Web Print link in the navigation menu.

The front page contains a list of active and recently submitted Web Print jobs for the logged in user. At first, the list is empty. Later, the list shows the status of submitted jobs.

Click Submit a Job to start the Web Print wizard.
The first step of the Web Print wizard is selecting a printer. This is the printer to which the uploaded document will print.

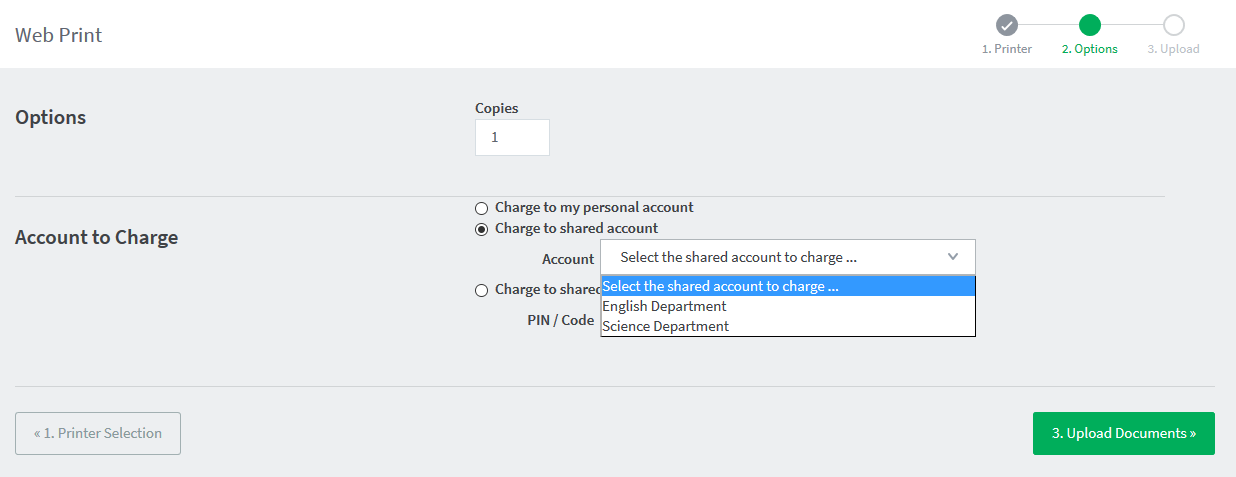
After selecting a printer, the second step is to select the print and/or account selection options. Most users will see an option to select the number of copies to print:

Users with print account selection options will see additional options on this page, equivalent to what they would see on their popup:

After selecting the print options and/or account selection settings, the third and final step in the Web Print wizard is to upload a document to print. This page lists the applications and associated file extensions that are supported.

After you select a document and click Upload & Complete », the file uploads to the server.
Once the document upload is complete, the user is returned to the front Web Print page. The table displays the status of the user’s job. The status changes to indicate the progress of the job from rendering to printing, and job details such as cost and number of pages are populated when known. The user can stay at this page to track the status of the job, or navigate away / close their browser - the job is not affected.

At this stage the PaperCut Application Server accepts the uploaded document and sends it to the Web Print server. The Web Print server renders the document into a print queue by automating the process of opening the application (e.g. Adobe Reader) and printing to the target printer.


Comments