For a complete overview of client management, head over to Client management in Print Deploy .
When to set up client-specific queues versus zone queues
With client management, you can deploy print queues directly to a user’s computer (client). Traditionally, Print Deploy deployed print queues to computers that were part of a zone.
Client-specific queues are perfect for situations where computers require unique print queues that are not shared with other computers at a specific location.
Zone queues are ideal for grouping users based on location or role. For example, in a school district you can create a zone for each school and then add further control to limit the queue in that zone to only teachers, not students. That way students can’t print in the teacher’s lounge!
Deploying client-specific queues
To deploy client-specific queues:
- Click Enable Printing. The Print Deploy tab is displayed.
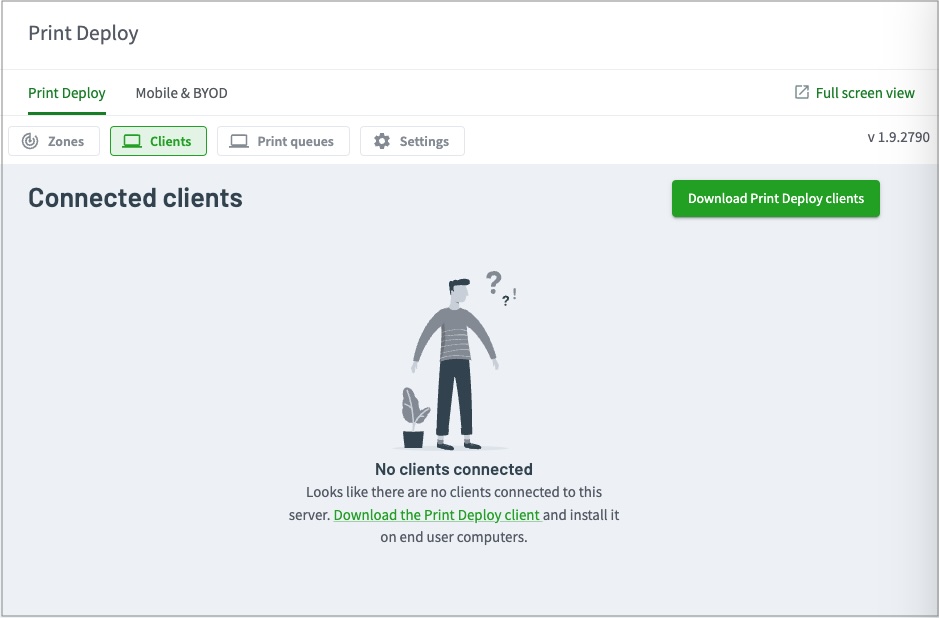
- Click the Clients tab. The Connected clients page is displayed.

- Search for and select the client by hostname or user. Their client information is displayed.
- In the Print queues list, select the printer(s) you want to assign to the client.
- Click Deploy to client. The print queues are added to the Client-specific print queues list.
- Click Save changes, then on the popup screen, click Done.
The client will receive both the host-specific print queues and any zone-based queues applicable to them.


Comments