Contents
Providing a Date Range for Custom Reports
Last updated September 30, 2025
Contents
Starting in PaperCut 19.1, you can create all kinds of custom reports using Jasper Studio (the how-to is over here, Custom Reporting). This article gives you the rundown on how to send a date range (starting date and ending date) to a Jasper custom report.
There are some really good reasons why specifying a date range is a helpful addition to custom reports. When you create a report in Jaspersoft Studio it uses a single SQL statement, that you provide, to select the PaperCut data for the report. There are many clever ways to pick a date range for a report using SQL, but this limits you to that range when you run the report.
For example, you could use the current date (e.g. NOW) and some date functions (e.g. DATEADD) to get the date range for the previous month. However, once that’s coded in the report, that’s all it can do. And you would need to duplicate the date logic to show the dates on the report. By including date parameters in the Jasper report, they can be used as variables just about anywhere in the report (including the SQL statement).
In this article, I’m going to run through how you can harness date parameters in a Jasper report to select the date range when you run the report.
Here are the steps we’ll cover in detail.
- Create the date parameters for your report in Jasper Studio
- Add the date variables to your SQL and show on the report
- Copy the Jasper report to PaperCut and run it
Create the date parameters in Jasper Studio
Before we dive into adding date parameters to a report, we recommend making sure you have a custom report that is already running successfully. If this is all new to you, then we’ve got some great examples to get you started included in
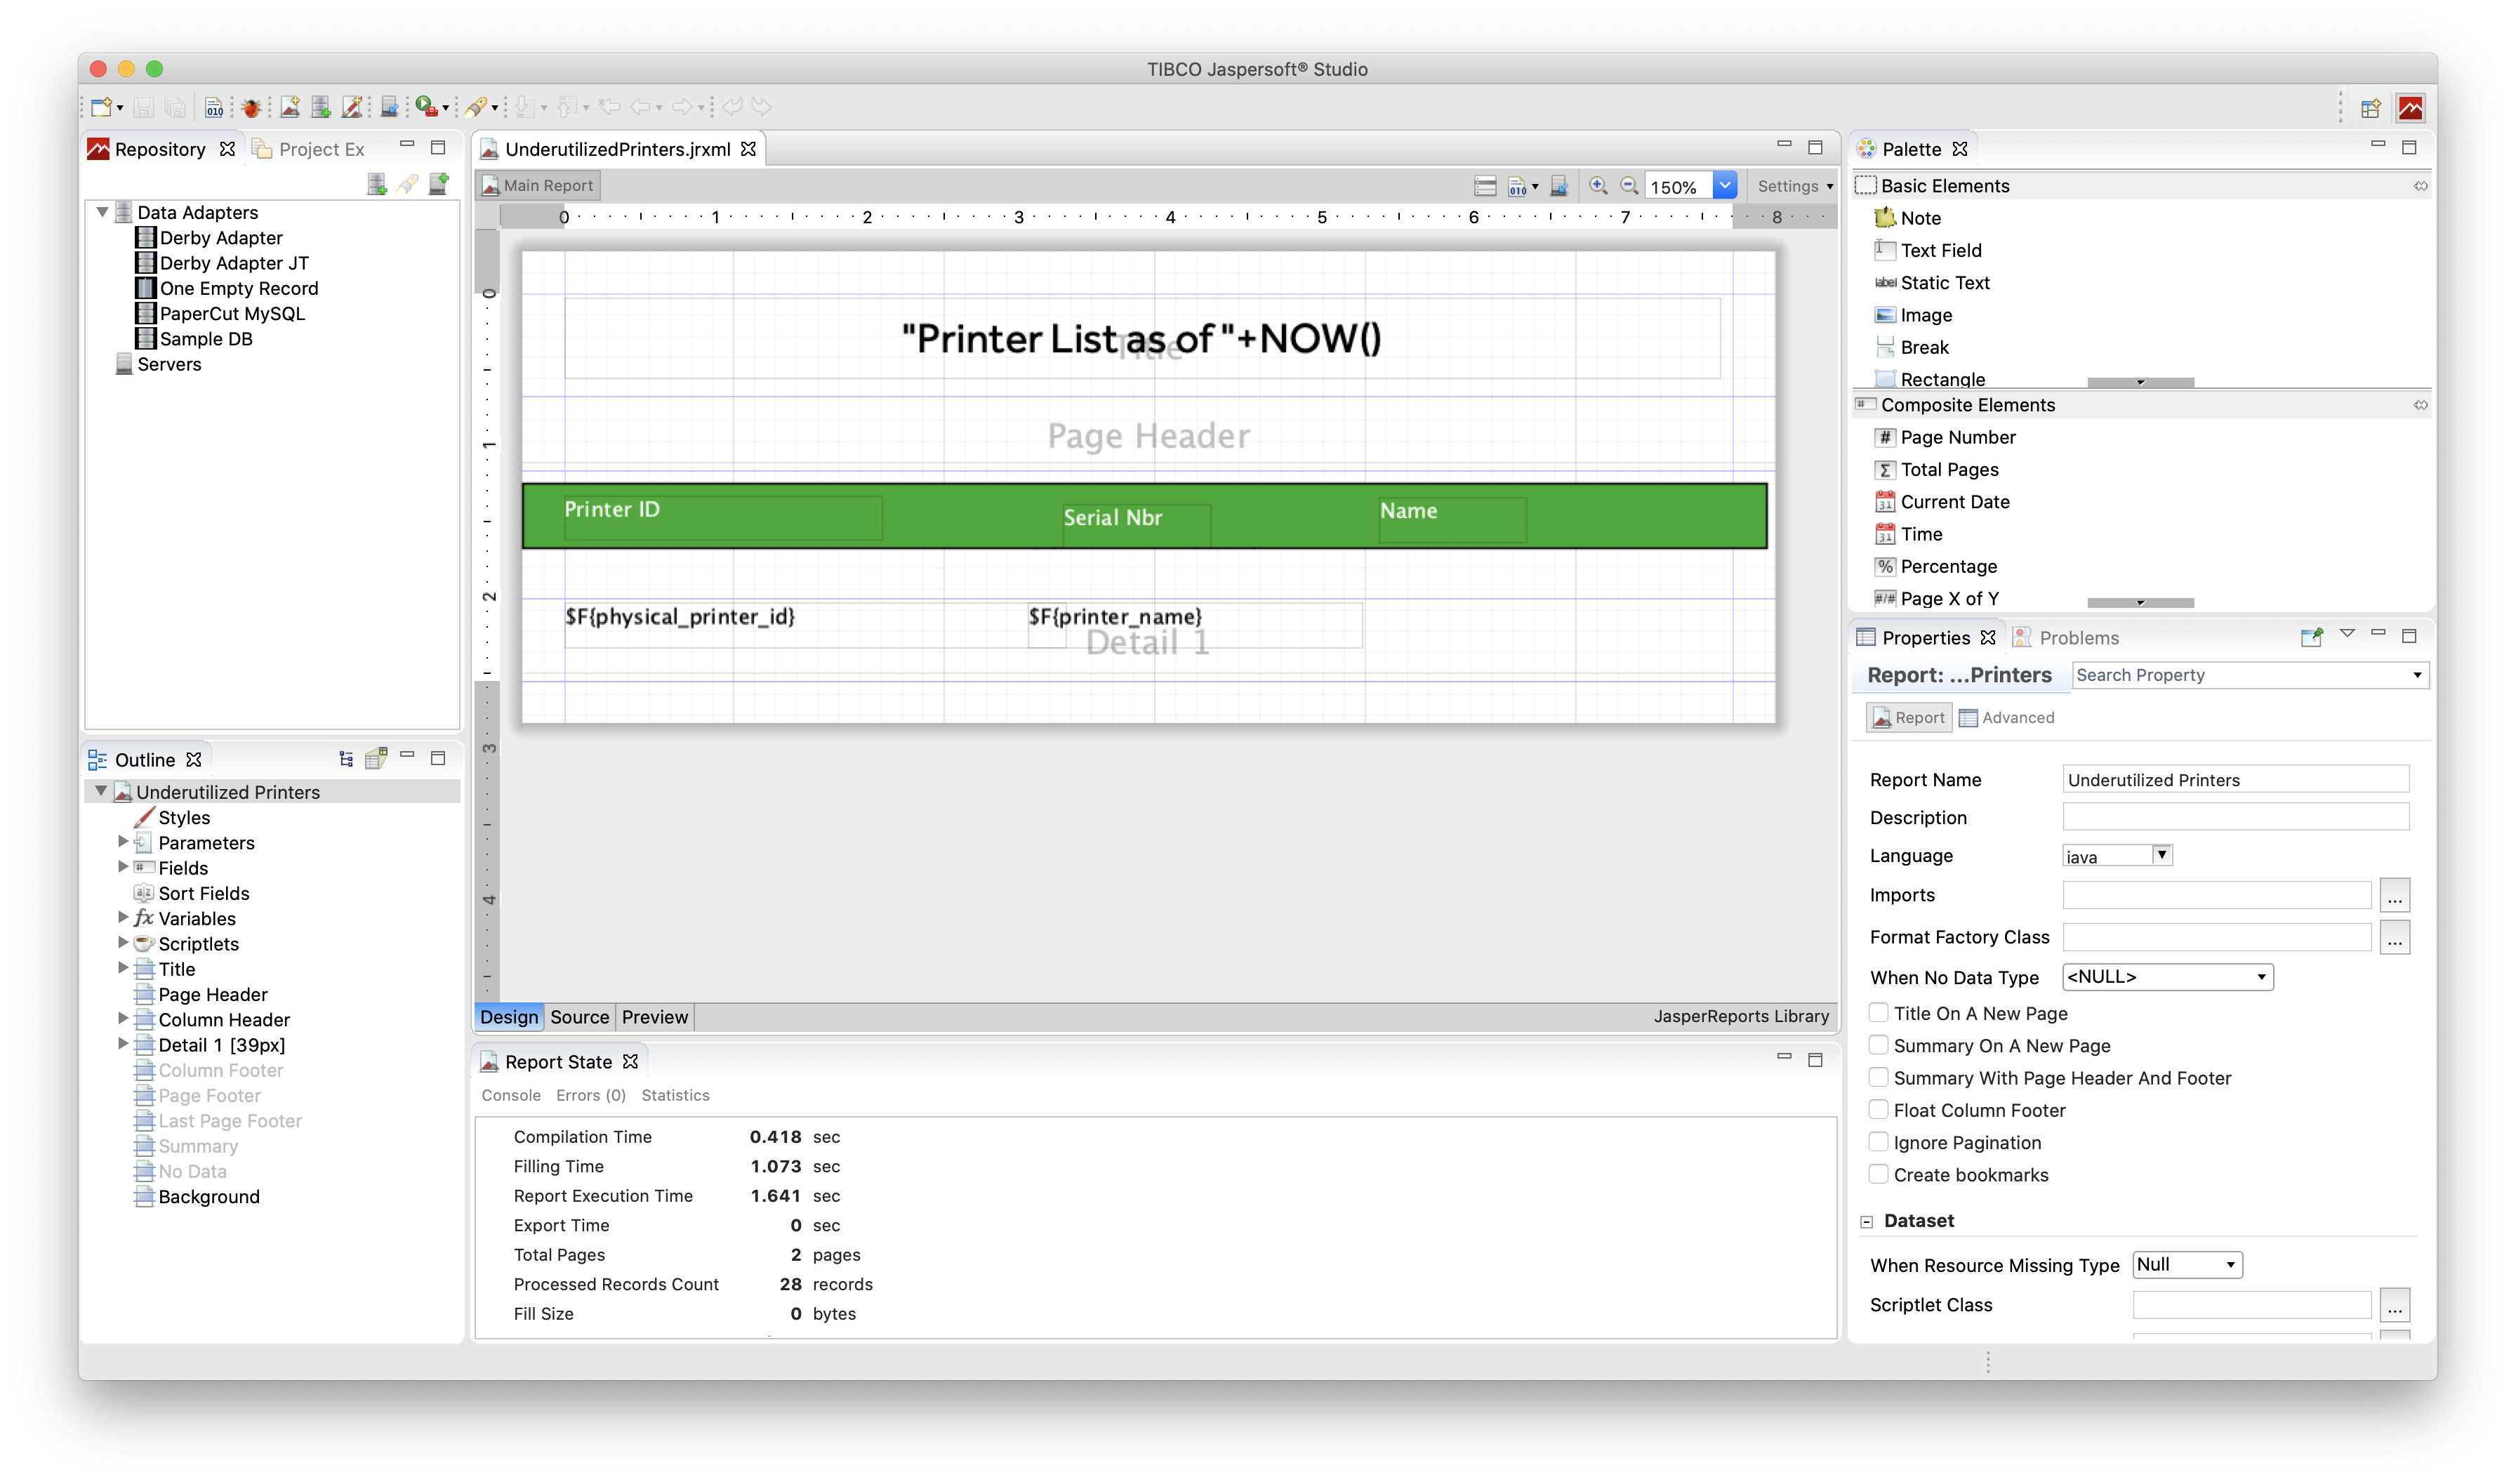
In this article we’ll start with a report for “Underutilized Printers” that does not have a date range.

-
Open the report in Jasper Studio.

-
Right-click on the Parameters item in the Outline view, and then click Create Parameter.

-
The Properties window will open on the right side of Jasper Studio.
- Change the parameter Name to DATE_FROM (don’t get creative here, this is the required Name!)
- Change the Class to one of the following:
java.sql.Timestampfor PaperCut version 20.0.3 or above
java.util.Datefor PaperCut version 20.0.2 or below - Uncheck the “Is For Prompting” checkbox

-
Repeat the previous step to create an additional parameter with the Name of DATE_TO (again, this is the required Name)
Add the date variables to your SQL and show on the report
Now that you have a working report and the two date parameters created, we can use DATE_FROM and DATE_TO in the report. Anywhere you want to use the parameter just enclose its name as $P{name}.
Our Underutilized Printer report is pretty useful, but it would be a lot more useful if we could provide options for a date range.
The SQL statement for the current report is,
SELECT tp.printer_name, tp.last_usage_date, sum(tpul.total_pages) as page_count, tp.physical_printer_id
FROM tbl_printer tp, tbl_printer_usage_log tpul
WHERE tp.deleted='N' AND tp.printer_id = tpul.printer_id
GROUP BY tpul.printer_id
ORDER BY page_count ASC
We can add the date parameters to make it useful for different time periods.
SELECT tp.printer_name, tp.last_usage_date, sum(tpul.total_pages) as page_count, tp.physical_printer_id
FROM tbl_printer tp, tbl_printer_usage_log tpul
WHERE tp.deleted='N' AND tp.printer_id = tpul.printer_id
    AND tpul.usage_date >= $P{DATE_FROM}
    AND tpul.usage_date <= $P{DATE_TO}
GROUP BY tpul.printer_id
ORDER BY page_count ASC
You can edit the report SQL in Jasper Studio by right-clicking on the report name in the Outline view and then selecting “Dataset and Query …”

Now let’s change the report title to show the date range.
- Click the report title in the Design window
- The Text Field will be shown in the Properties window to the right side
- Click the Text Field tab
- Change the Expression to something like, “Underutilized Printers from “ + $P{DATE_FROM} + “ to “ + $P{DATE_TO}.

You can click the Expression Editor button to the far right of the Expression field for easier editing.
Save the report in Jasper Studio.
Copy the Jasper report to PaperCut and run it
Copy the .jrxml file from your Jasper Studio location under MyReports to your PaperCut reports folder,
Open the PaperCut admin UI and click the Reports tab, then Custom Reports. You should see the report now has a dropdown to select a date range.

Select the desired date range and run the report!
Still have questions?
Let us know! We love chatting about what’s going on under the hood. Feel free to leave a comment below or visit our Support Portal for further assistance.
Category: How-to Articles
Subcategory: Reporting
Keywords: Date Range, Custom, Report


Comments