Integrated Scanning with PaperCut MF lets you manage scanning across dozens—or thousands—of devices from one place. Once it’s set up, users can scan documents straight from a multifunction device with just a few taps.
This article walks you through everything, from setting up a scan action to enabling scanning on a specific device. It also covers how to configure each scan destination: Email, Folder, Cloud storage, and Fax.
1: Create the new scan action
You can create any number of scan actions to meet your needs.
- Select Devices > Scan Actions. The Scan Actions page is displayed with a list of all available scan actions.

- Click Create new to display the Scan Action Details page.
2: Set the destination - Email, Folder, Cloud Storage, or Fax
Set the Destination (Email, Folder, Cloud Storage, or Fax). Expand each of the boxes below for specific setup steps.
Scan to Email
In the Destination area select the Email type and complete the following fields:
- Label—enter a name for the scan action (maximum 25 characters). This label is displayed on the device to the user so we recommend something short and intuitive like “Scan to my email” or “Scan to finance folder”.
- To—select one of the following:
- User’s email address—the scan job is delivered to the user’s email address.
- Custom email address—select this option, then specify the email address to which you want the scan job delivered, for example, invoices@mycompany.com .
- From—select one of the following:
- User’s email address—the scan job is delivered from the user’s email address if they have one configured.
- Custom email address—select this option, then specify the email address from which you want the scan job delivered, for example, invoices@mycompany.com . By default, this field is pre-populated with the system From address as specified in Options > Notifications > Email Options > From Address. This allows you to whitelist scanning emails on your mail server.
- Subject—enter the default email subject. You can use substitution macros, such as
%Label%in the email subject. For more information about the available macros, see Substitution variables/macros . - User can edit—select this check box if you want to allow users to change the default email subject at the device.
Scan to Folder
In the Destination area, select the Folder type and complete the following fields:
- Label—enter a name for the scan action (maximum 25 characters). This label is displayed on the device to the user so we recommend something short and intuitive like “Scan to my Home Folder” or “Scan to Finance”.
- Path—select one of the following:
- User’s home folder—the scan job is delivered to the user’s home folder. The maximum length is 256 characters.
- A folder path—select this option, then specify the path to which you want the scan job delivered, for example,
N://finance/docs/. The maximum length is 1000 characters.
When scanning to a folder, here are some important things to keep in mind:
- The folder path must be accessible over the network from the PaperCut NG/MF server.
- The scan files are written to the network share by the PaperCut MF Primary Application Server service. The account this service runs as must have write access to the network share.
For detailed information on how to set this up, see Prepare for Integrated Scanning implementation .
Scan to Cloud Storage
In the Destination area select the Cloud Storage type.
If this is the first time you are creating a Scan to Cloud Storage scan action, a window is displayed prompting you to activate
PaperCut MF Cloud Services
.
PaperCut MF checks that you have active Maintenance & Support (M&A)—a requirement for creating Scan to Cloud Storage actions.
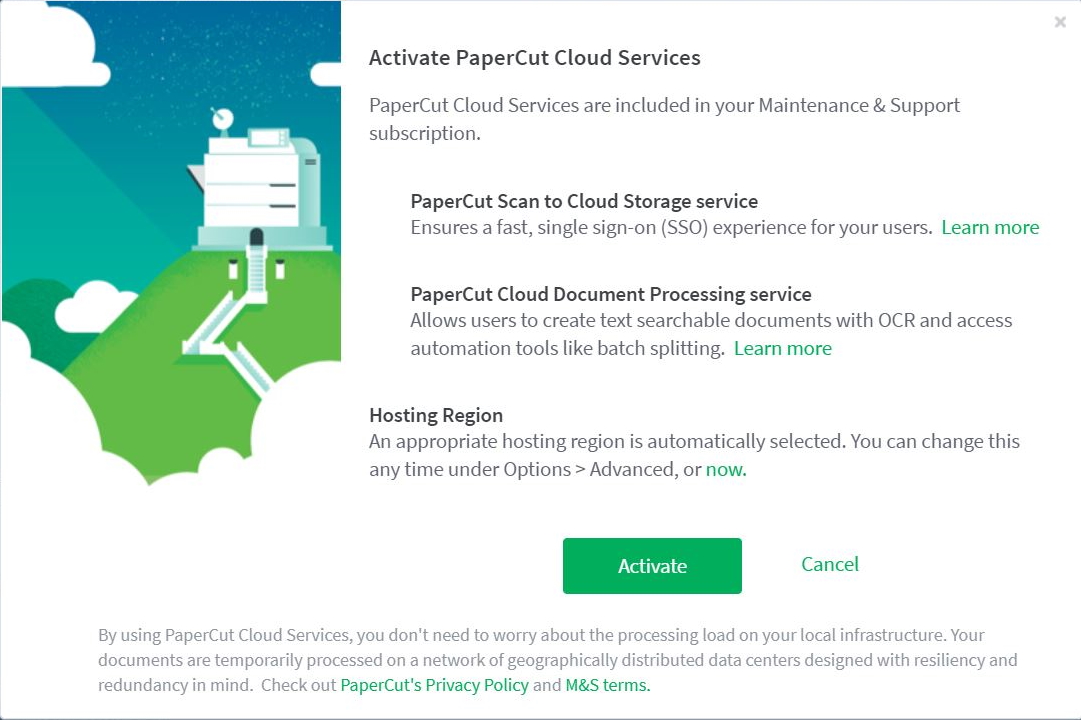
To activate PaperCut MF Cloud Services:
- Select the hosting region for PaperCut Cloud Services.
- Select a local region to minimize the transit of your documents outside your country during processing.
- Make sure your selection adheres to your organization’s privacy policy and regulations.
- Click Activate.
Next, complete the following fields:
Cloud storage provider—select the cloud storage provider.
Label—type a name for the scan action (maximum 25 characters). This label is displayed on the device to the user so we recommend something short and intuitive like “Scan to OneDrive” or “Scan to Dropbox”.
SharePointDocument Library URL—(SharePoint Online only) type the URL of the document library in which you want the scan jobs delivered. When using sub-sites, you need to specify the hierarchy, for example:
https://companyname.sharepoint.com/sites/melbourne/Invoices/AllItems.aspxYour URL might look more complex than this example, but PaperCut NG/MF will work out the correct path if you copy the entire URL.
Scan to Fax
Scan to Fax can be delivered via SMTP or API. For a more details, take a look at Scan to Fax explained .
For Scan to Fax actions, the default color mode is Grayscale.
Delivery via SMTP
Select Devices > scan actions.
In the Actions menu, click Create new. The Scan Action Details page is displayed.
In the Destination section, select Fax.
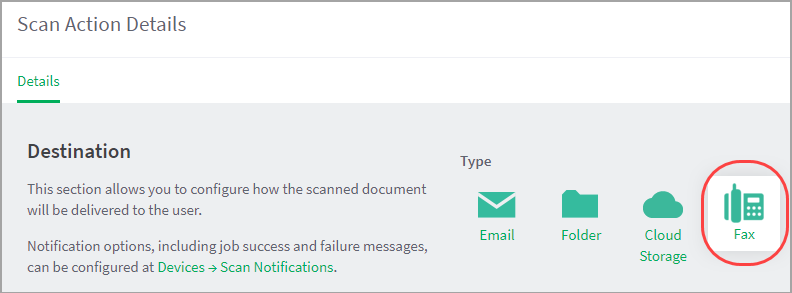
Complete the following fields:
Fax provider—Select Basic (Generic SMTP).
Label—Enter a name for the scan action (maximum 25 characters). This label is displayed on the device to the user, so make it easy to understand. For example, ‘Scan to Pathology’. As you type, to the right you can see how the label will look.
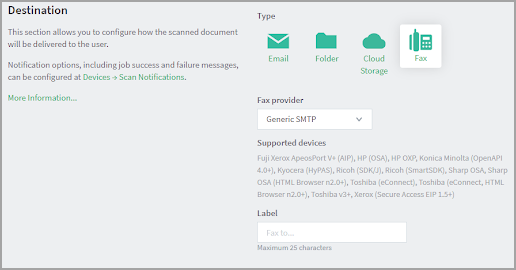
In the Fax settings area, complete the following fax server settings:
SMTP server host—Your SMTP server hostname. This is the server used to send your scans as emails to the fax provider.
Port—The port to connect to on the SMTP server. Common ports include 25 or 587 for TLS, and 465 for SMTPS(SSL).
Username—The username for SMTP authentication. Typically an email address. This username is used by PaperCut to log into the SMTP server.
Password—Password for SMTP authentication.
Email suffix—The email suffix provided by your fax provider. This suffix gets appended to the fax number before sending it to the fax provider.
Encryption—Choose between None, SSL, and TLS.
Reject untrusted certificate—Select this checkbox when using an external email service like Gmail or if you run your own email server with a trusted certificate. This prevents man-in-the-middle attacks by blocking the connection if the email server presents a certificate that has not been signed by a trusted certificate authority.
Do not select the checkbox if you run your own email server with a self-signed certificate.
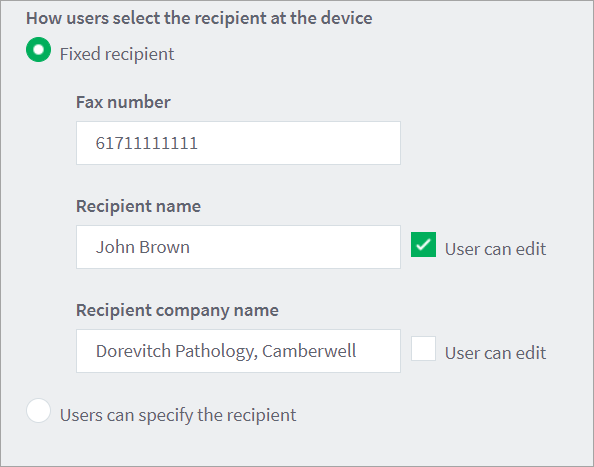
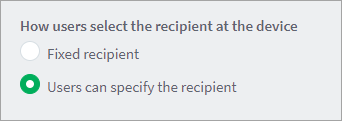
In the How users select the recipient at the device section:
- If you want to let the users enter the fax number at the MFD, select Users can specify the recipient.
- Otherwise, if you are setting up a fixed recipient, select Fixed recipient and complete the following fields:
Fax number—The fax number of the recipient.
Recipient name—The name of the recipient. This information will appear on the fax cover sheet, depending on your cover page configuration.
Recipient company name—The company name of the recipient. This information will appear on the fax cover sheet, depending on your cover page configuration. Optionally, you can make this field non-editable.
Delivery via API
Select Devices > scan actions.
In the Actions menu, click Create new. The Scan Action Details page is displayed.
In the Destination section, select click Fax.

Complete the following fields:
Fax provider—Select your fax provider
Label—Enter a name for the scan action (maximum 25 characters). This label is displayed to the user on the device.
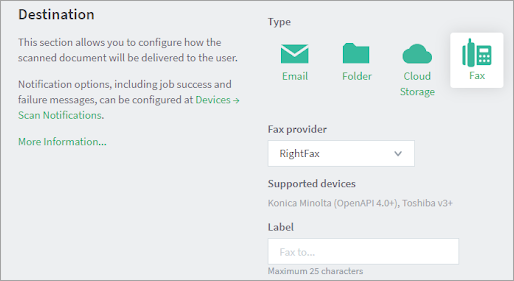
Complete the Fax settings area to match the settings required by the Fax Provider you selected above.
Fax Provider
Required Fields
GoFax
To configure GoFax, you need to create an API access token for PaperCut to use to authenticate with the GoFax server.API base URL - https://restful-api.gofax.com.au/v1.1
Authentication token - To find out details on how to create an API access token, see the GoFax documentation: https://support.gofax.com.au/portal/en/kb/articles/api-access-tokens.
RightFax
RightFax is one of the leading fax providers. PaperCut provides connectivity via APIs for RightFax 10.6 Feature Pack 1 or later, but we recommend a minimum version of RightFax 16.4.
The RightFax Web API uses standard HTTP Basic Authentication. To configure RightFax, you need to create a user that has access rights to send faxes.API base URL - Supported versions of RightFax automatically configure IIS so the following API root URL will access the API: http://server/rightfax/api where server is the hostname of the computer where RightFax is installed.
Username - The username of the user/service account that PaperCut will use to connect to the RightFax server
Password - The password of the user/service account that PaperCut will use to connect to the RightFax server.
XM Fax Cloud
XM Fax is another prominent fax provider that has both cloud and on-premises solutions. To configure XM Fax Cloud, you need to create an API access token for PaperCut to use to authenticate with the XMedius server.
API base URL - https://portal.xmedius.com/services/permalink/fax/faxservice/url. where permalink is the login name of your cloud faxing service account.
Authentication token - Refer to XM Fax documentation to find out how to create an access token. When creating the authentication token, make sure to grant these permissions. Manage usersSend and manage faxesQuery user directory.
XM Fax On-premises
XM Fax On-premises is identical to the cloud version except the API access method uses basic authentication. The PaperCut connector supports XM Fax On-premises versions 9.0+ and later. To configure the XM Fax On-premises connector, you need to create a user that has access rights to send faxes.
API base URL - https://server:8443/faxservice/Fax where ‘server’ is the hostname of the computer where XM Fax On-premises is installed.
Username - The username of the user/service account that PaperCut will use to connect to the XM Fax server.
Password - The password of the user/service account that PaperCut will use to connect to the XM Fax server.
Retarus
Retarus is a leading online faxing provider in the US and Europe. If Retarus is your fax provider, you can use the PaperCut API-based Retarus connector to send faxes. The Retarus Web API uses standard HTTP Basic Authentication. To configure, you need to create a user that has access rights to send faxes. For more details, refer to your Retarus documentation.
API base URL - The service is reachable via: https://www.retarus.com/au/services/fax/fax-api/ (processing in Germany or USA) For further details, contact Retarus.
Username - The username of the user/service account that PaperCut will use to connect to the Retarus server.
Password - The password of the user/service account that PaperCut will use to connect to the Retarus server.
eGoldFax
To configure eGoldFax, you need to provide the account ID and the sender reference that you received from eGoldFax for your organization.
API base URL
Account ID
Sender reference
In the How users select the recipient at the device section:
If you are setting up a fixed recipient, select Fixed recipient and complete the following fields:
- Fax number—The fax number of the recipient.
- Recipient name—The name of the recipient. This information will appear on the fax cover sheet, depending on your cover page configuration. Optionally, you can make this field non-editable.
- Recipient company name—The company name of the recipient. This information will appear on the fax cover sheet, depending on your cover page configuration. Optionally, you can make this field non-editable.

If you want to let the users enter the fax number at the MFD, select Users can specify the recipient.
3: Tweak additional settings
After creating the scan action and choosing the destination, configure any additional scan settings.
Document
These settings provide give admins and users control the scanned document’s file name.
- Display label - The label for the filename field on the copier. You can change the label to provide specific guidance to the users to affect how the scanned file is saved. For example, if you want users to name scan files according to an invoice number, you could change the label to Invoice No.
- Filename - This controls the default value for the filename. You can use variables such as
%Label%in the filename. For more information, see Substitution variables/macros . - User can edit - Select this checkbox if you want to give users the ability to override the filename when scanning.
Advanced
These settings control whether a metadata file is delivered with each scan.
Checking either of these boxes will generate an XML or JSON metadata file to be delivered with the scan. For more info see: Integration with Electronic Document Management Systems .
Input settings
These settings affect how the pages are scanned at the device.
Orientation - Select Portrait or Landscape.
Duplex mode - Select 1-sided or 2-sided.
Paper size - Select the default paper size that is highlighted on the device’s Scan Settings screen’s Paper Size field:
For ISO standard - A3, A4, A5, Auto (Same size), Auto (Mixed sizes) Default: A4
For North American standard - Letter, Legal, Ledger, Auto (Same size), Auto (Mixed sizes)
Default: Letter
Output settings
These settings affect the final document delivered to the user. 
- File type -
Select up to three of the output file types
to make them available to users at the MFD: PDF, JPEG, TIFF, or DOCX.
- If you select only one file type, that is the only one users will see at the MFD. You cannot select more than three file types due to limitations in the display panel size of some MFDs.
- For Scan to Fax we recommend selecting the PDF file type. Refer to your 3rd party Fax Provider documentation to see if they support another file type.
- The PDF file type has these additional options:
- Make Searchable - to make the output a searchable PDF file with Optical Character Recognition (OCR) using PaperCut MF’s Document Processing feature.
- Convert to PDF/A - to convert it to the ISO standardized version of PDF for archiving using PaperCut MF’s Document Processing feature.
- Enable compression - Selecting this engages PaperCut’s advanced PDF compression to deliver PDF files with greatly reduced file sizes when PaperCut MF’s Document Processing feature is used. Read
Scanning with PaperCut MF - best practices for compression
and select which level of compression to use:
- High compression - This engages compression options that result in the smallest file size, at the expense of the quality of images within the document. Recommended for: text-heavy documents or cases where you need the smallest possible file.
- Medium compression - Smaller than a non-compressed document. Recommended for: the majority of scan jobs.
- Low compression - Still provides reduced file sizes, but with a quality that is virtually the same as a non-compressed document. Recommended for: situations where you want smaller file sizes than uncompressed documents but don’t want to compromise on image quality.
Document Processing
These settings utilize PaperCut MF’s document processing feature.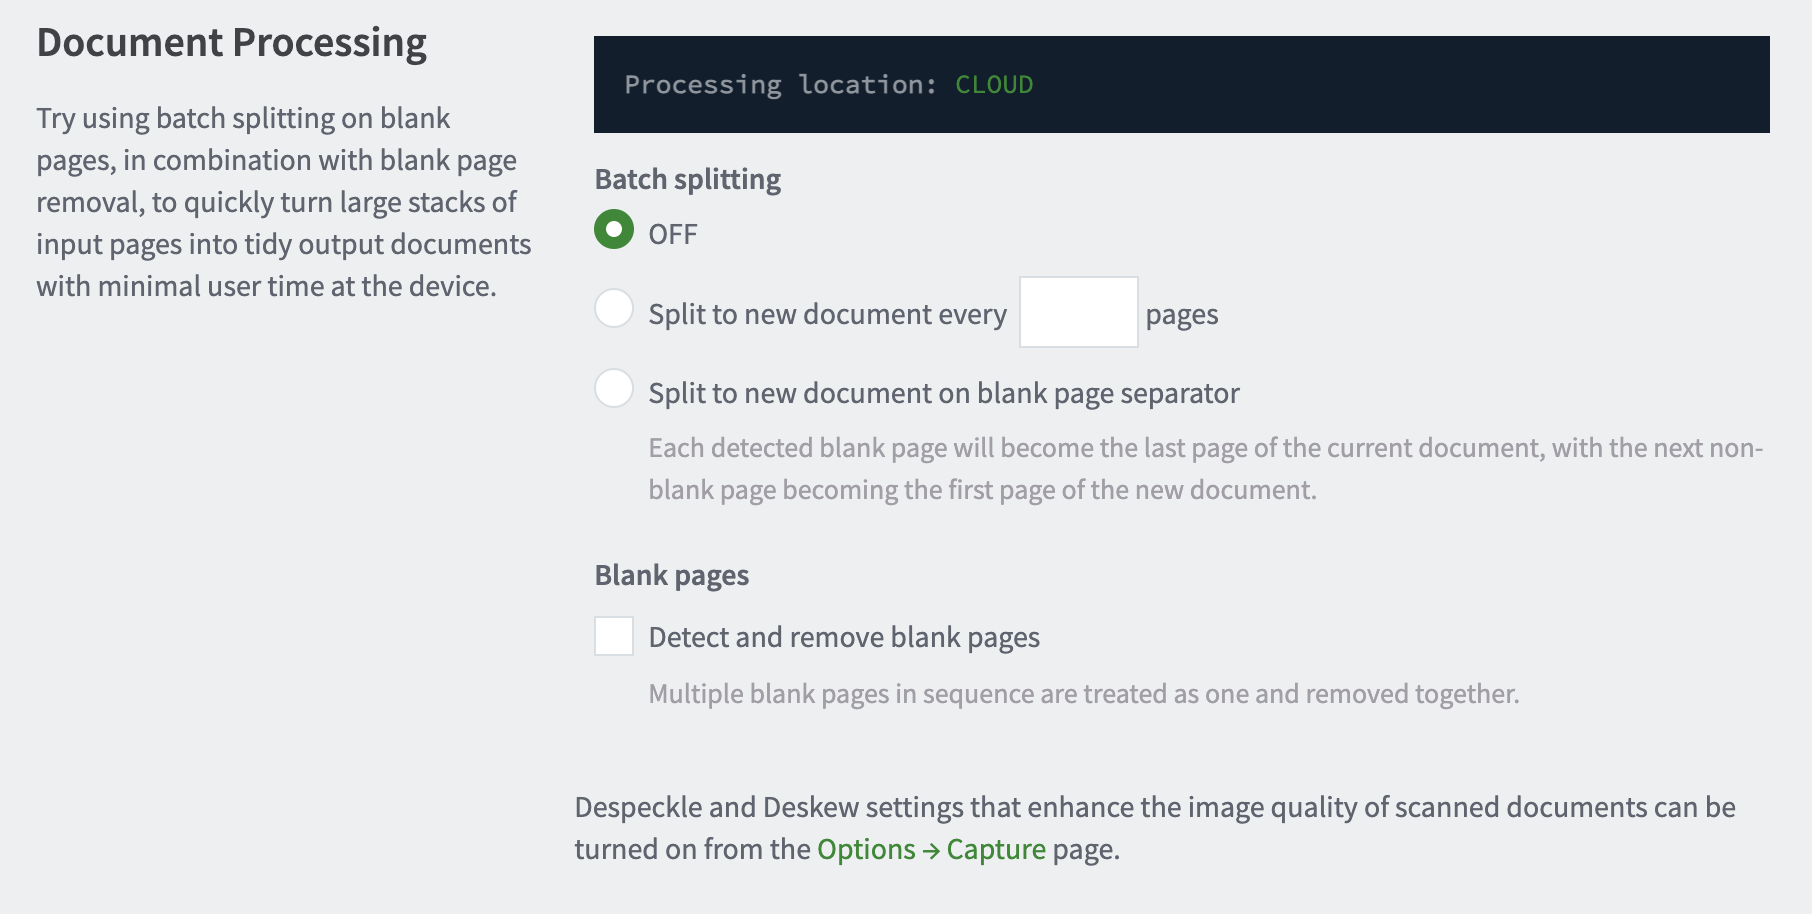
For detailed information about these settings including Batch Splitting and Blank Page Detection, refer to Document Processing for Scans .
Admin notes
This short section does not affect users, but is handy for administrators to record important details about specific scan actions.
Include any notes about the scan action in the Admin Notes area. For example, “Scan searchable PDFs at 300DPI to the finance department’s network share”.
4: Save and configure access
Click Save & configure access to display the Access List page is displayed. This page allows you to set the scanning permissions.
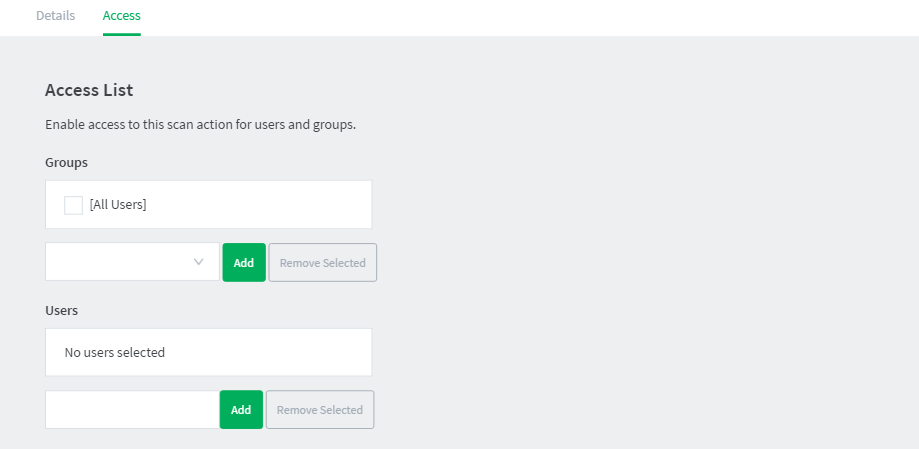
Select the groups and users to whom you want to make this scan action available:
- Select the group or user from the list
- Click Add to add the user or group to the Access Control List (ACL).
For more information about setting up groups, see Groups in PaperCut NG/MF .
5: Adjust capture settings
Click Options > Capture. The Capture screen is displayed.
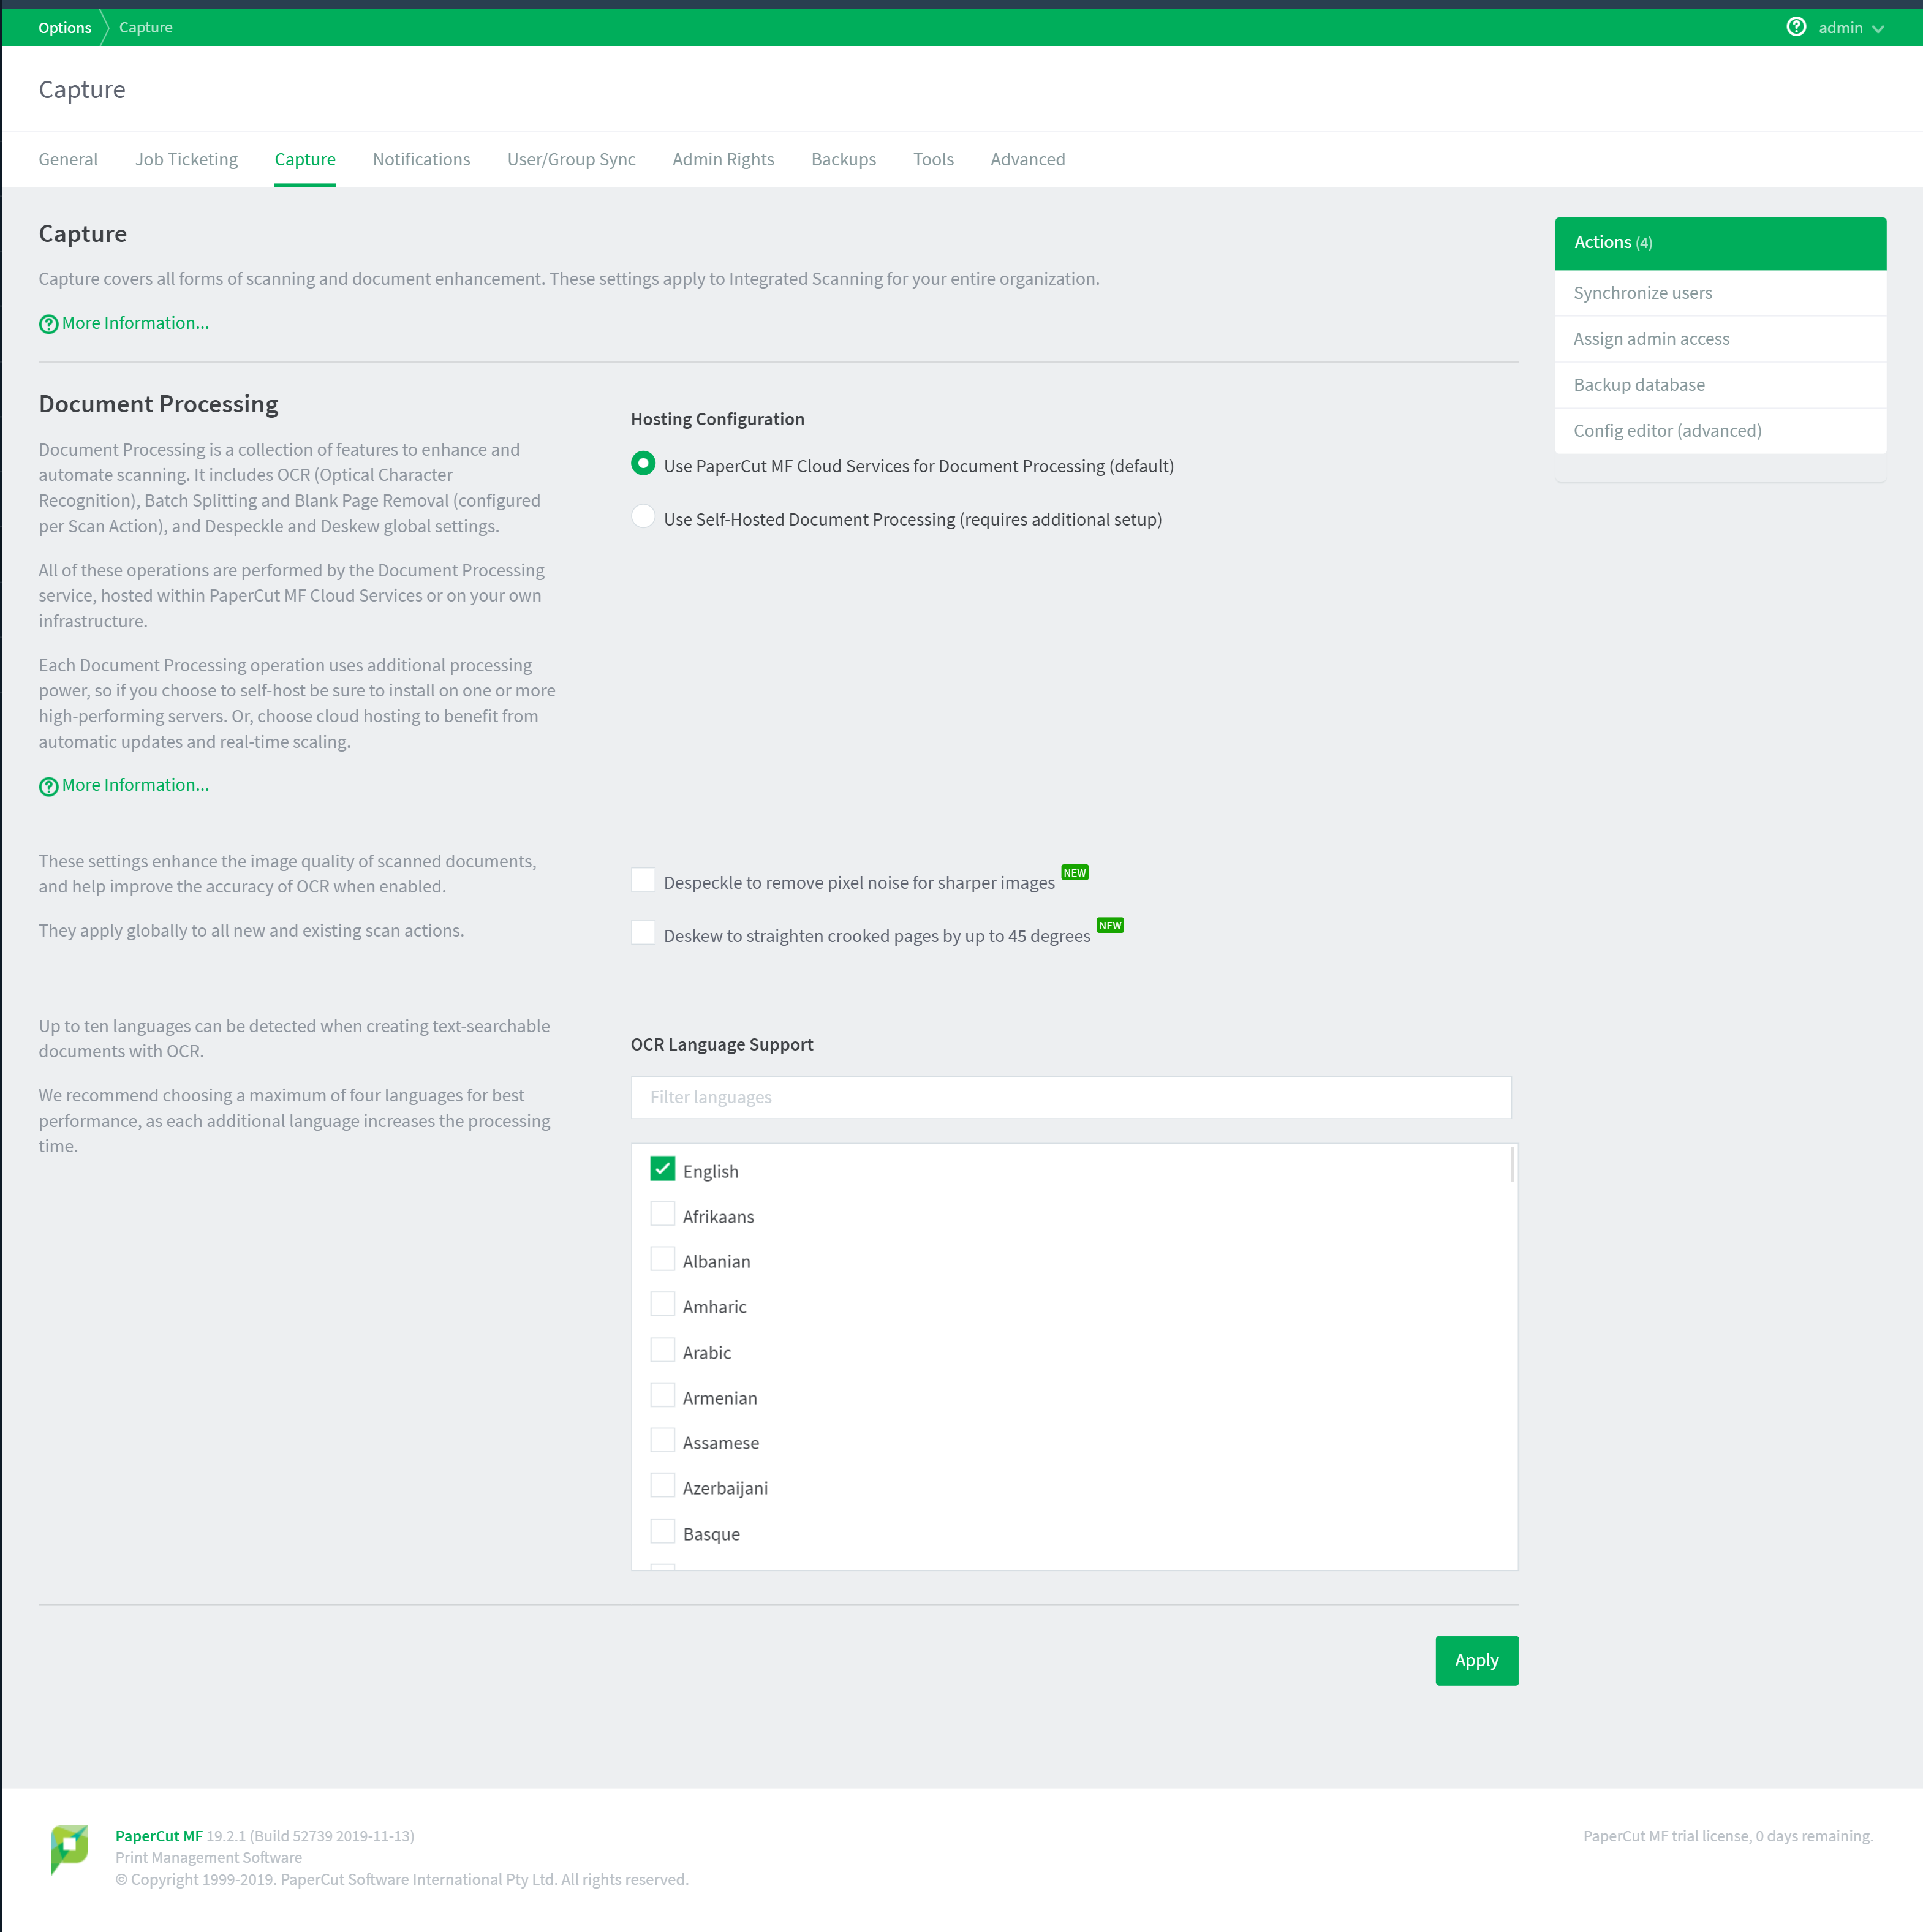
In the Document Processing section configure the following optional global settings which apply to all new and existing scan actions:
Despeckle - background pixel noise is automatically removed from scanned pages
Deskew - pages that are crooked by up to 45 degrees are straightened.
Select up to 10 languages you want OCR to detect and process in your scans.
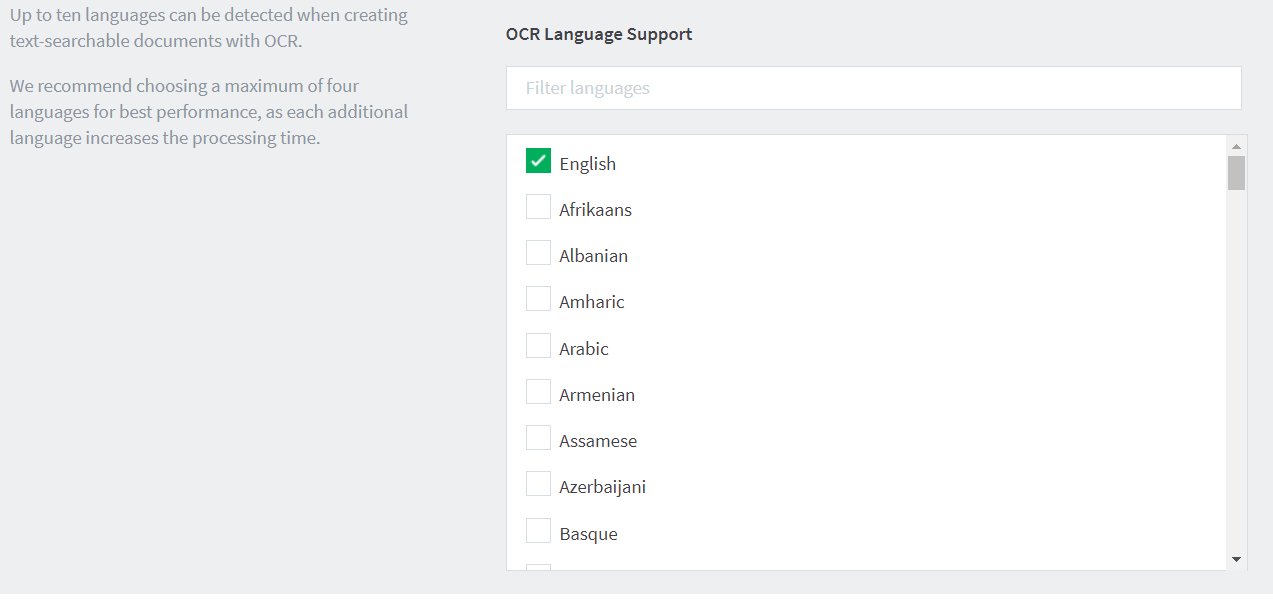
Click Apply.
6: Enable Integrated Scanning for a device
Scanning is not enabled by default on all devices, but can easily be enabled in a few different ways.
Refer to the relevant embedded guide or check with your PaperCut Authorized Partner to ensure your copier supports PaperCut Integrated Scanning.
In the Admin web interface, click the Devices tab.
The External Device List page is displayed.Select a device.
The Device Details page is displayed.In the Integrated Scanning area, select the Enable Integrated Scanning check box. This will not be available if your device does not support Integrated Scanning.
Click OK. For all scan actions except Scan to Fax, integrated scanning is now set up and you have finished the basic configuration.
Scan to Fax only
If you configured Scan to Fax to deliver scans via API, go to Enable Advanced Scan to Fax actions .


Comments