For a description about SAML 2.0 Single Sign-on, see the SAML 2.0 Single Sign-on overview.
Before starting, ensure you have Google Workspace Administrator-level access or higher.
1. Provide this configuration’s basic details to PaperCut Hive or Pocket
To add and enable a Google Workspace SSO configuration:
- Log in to the PaperCut Hive or Pocket admin console and at the top-right of the page click the login name.
- Select Settings > Authentication tab.
- Click Add SAML SSO provider. The Add SAML SSO provider modal is displayed.
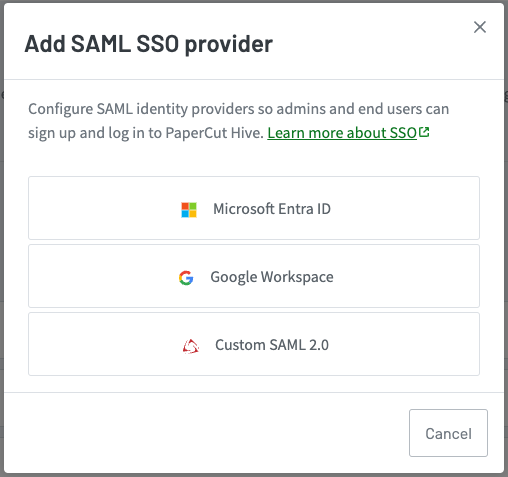
- Select Google Workspace. The Add SSO configuration page is displayed.
- In the Configuration name field, enter a name for this configuration. This name helps you know which configuration you’re editing or using, especially if your organization has multiple SSO configurations enabled at the same time.
- In the Configuration button label field, enter the button label your users will see on your organization’s PaperCut Hive or Pocket login page. Again, if you are using multiple SSO configurations simultaneously, ensure the button label helps users select the right button to log in.
2. Link Google Workspace back to PaperCut
- In a separate tab, log in to your Google Workspace Admin console. You must have Administrator access.
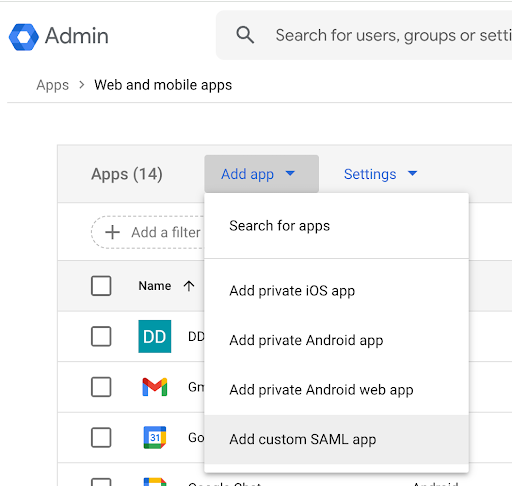
- In the left menu, select Apps > Web and mobile apps.
- In the action selection area, select Add app > Add custom SAML app.
The app details page is displayed.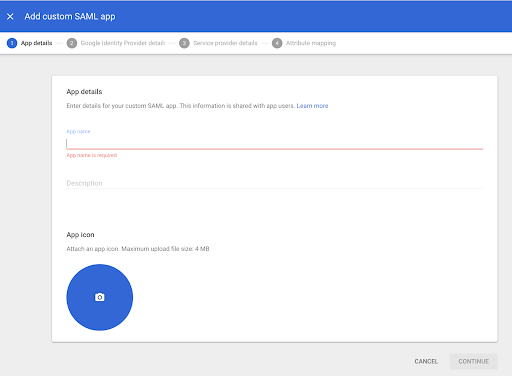
- In App name, enter a name for your application. We’ll use
Example SAML app. Then select Continue. The Google Identity Provider details page is displayed.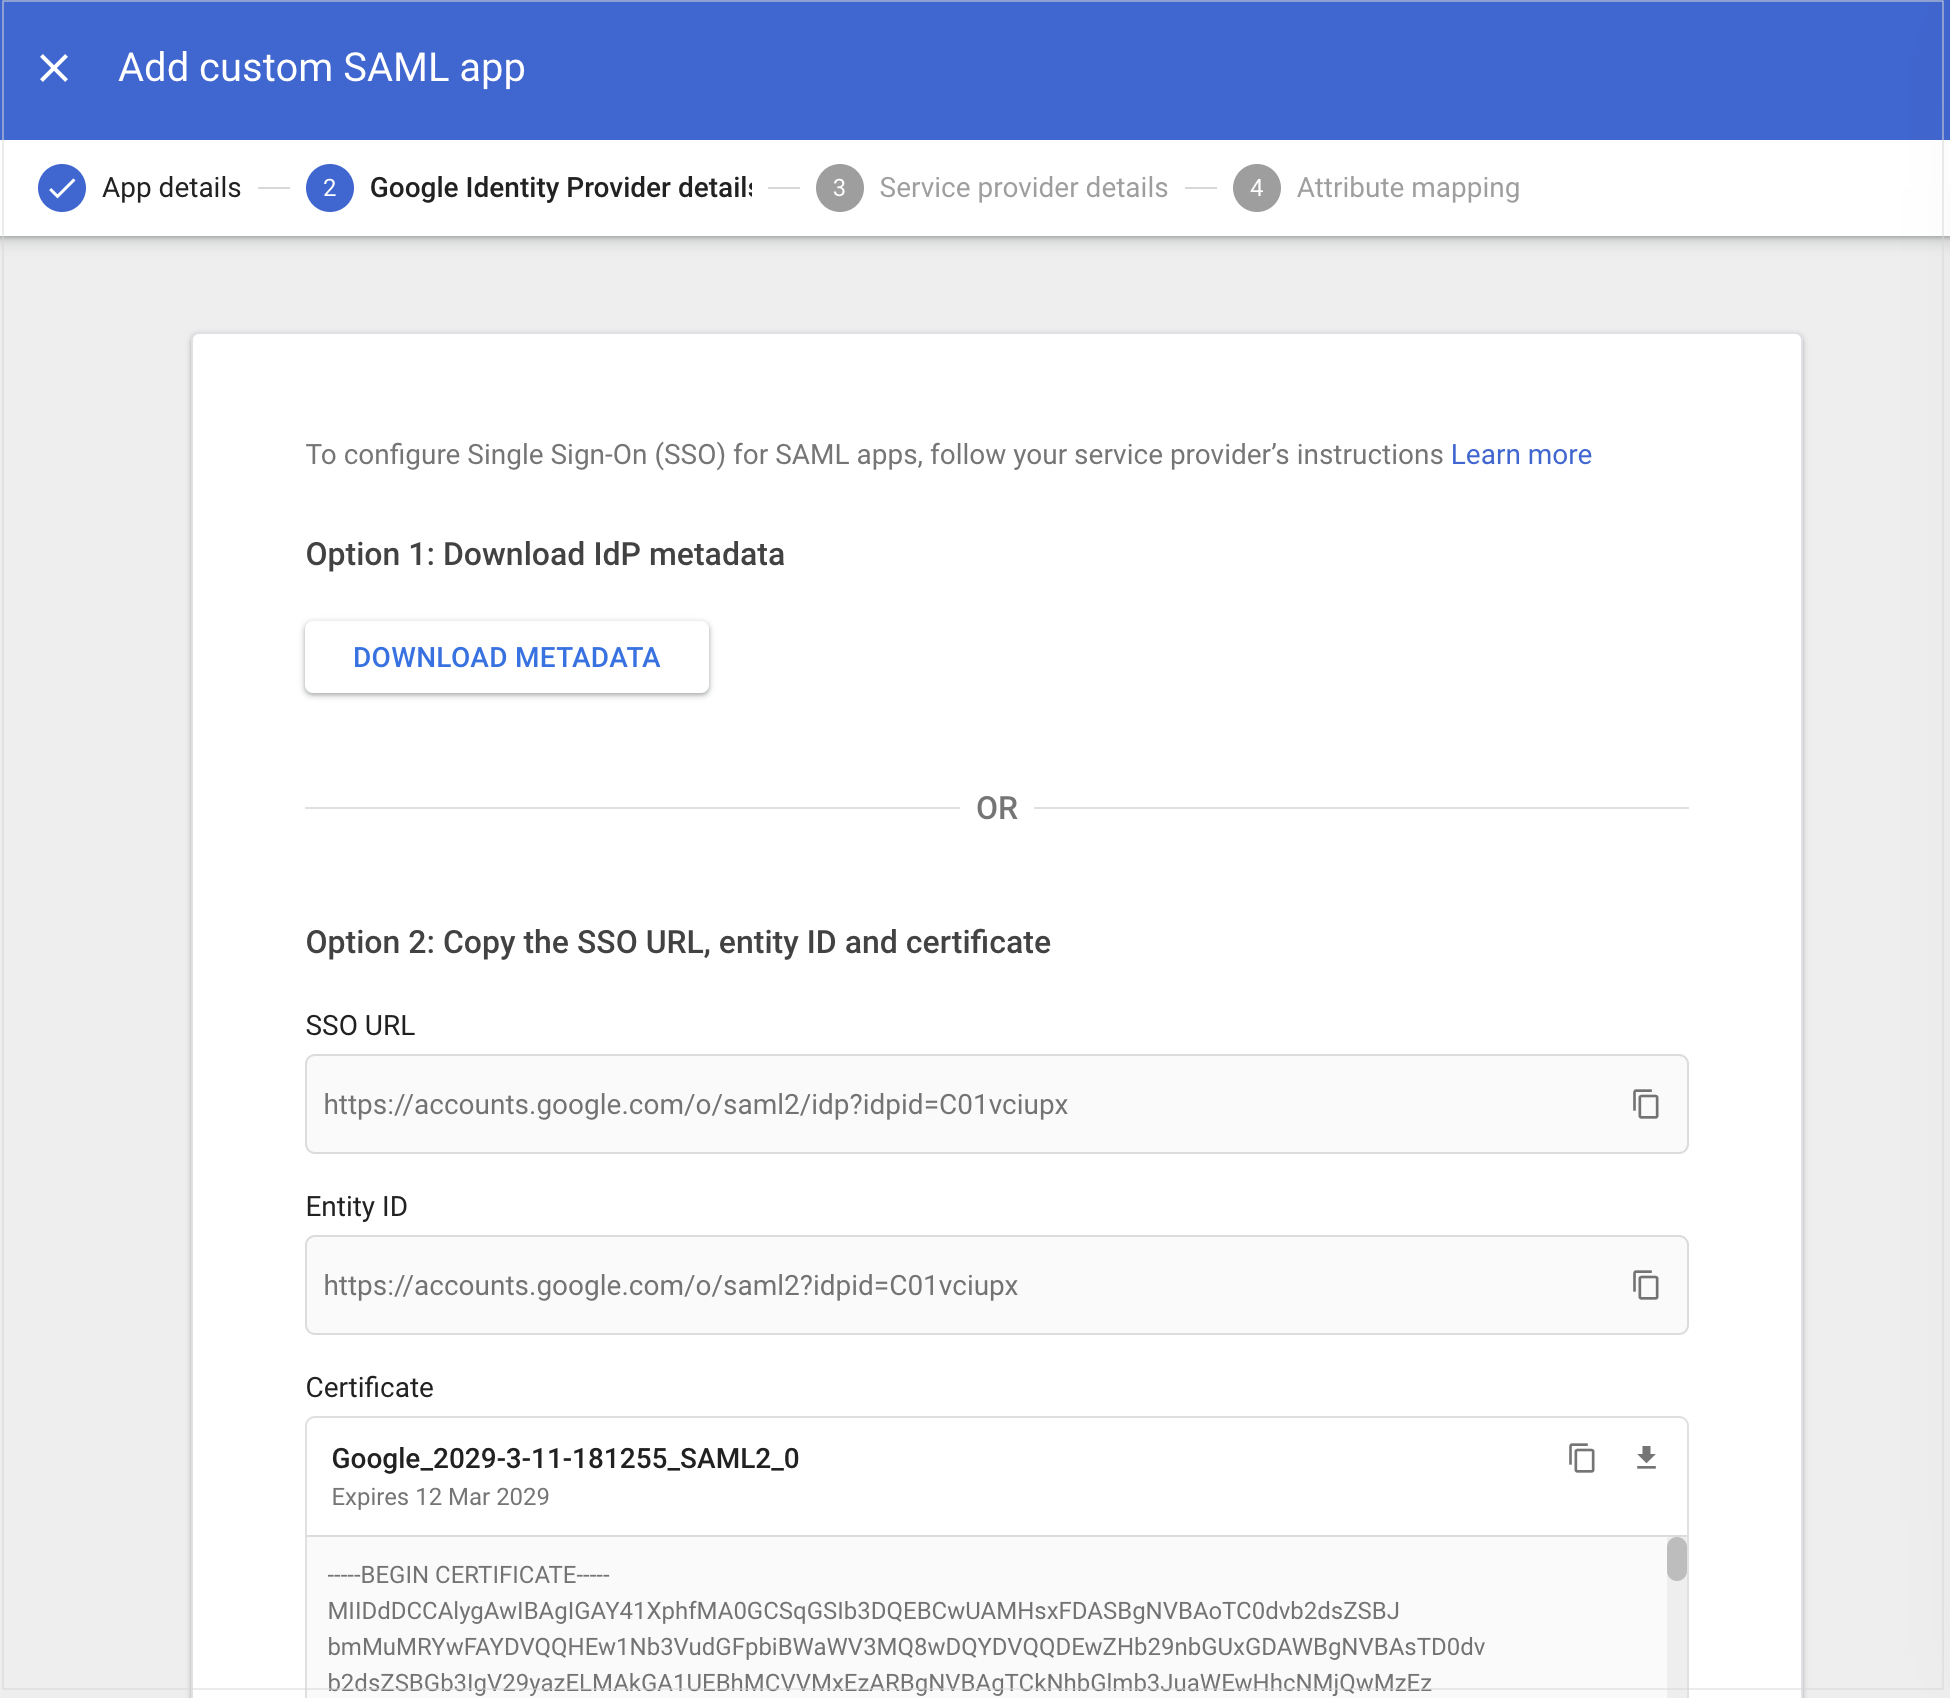
- Copy and paste the SSO URL into PaperCut:
- Go to Option 2 and copy the SSO URL.
- Switch to the PaperCut tab showing the Add SSO configuration page, and paste the SSO URL in the SSO URL box.
- Copy and paste the Entity ID into PaperCut:
- On the Google Identity Provider details page, copy the Entity ID.
- Switch to the PaperCut tab and paste the Entity ID into the Entity ID box.
- Copy and paste the certificate into PaperCut:
-
On the Google Identity Provider details page, copy the details in the Certificate box, including the —–BEGIN CERTIFICATE—– and —–END CERTIFICATE—–.
-
Switch to the PaperCut tab and paste the certificate in the Certificate box.
If you have done this correctly, a green tick and certificate validity message appears.
-
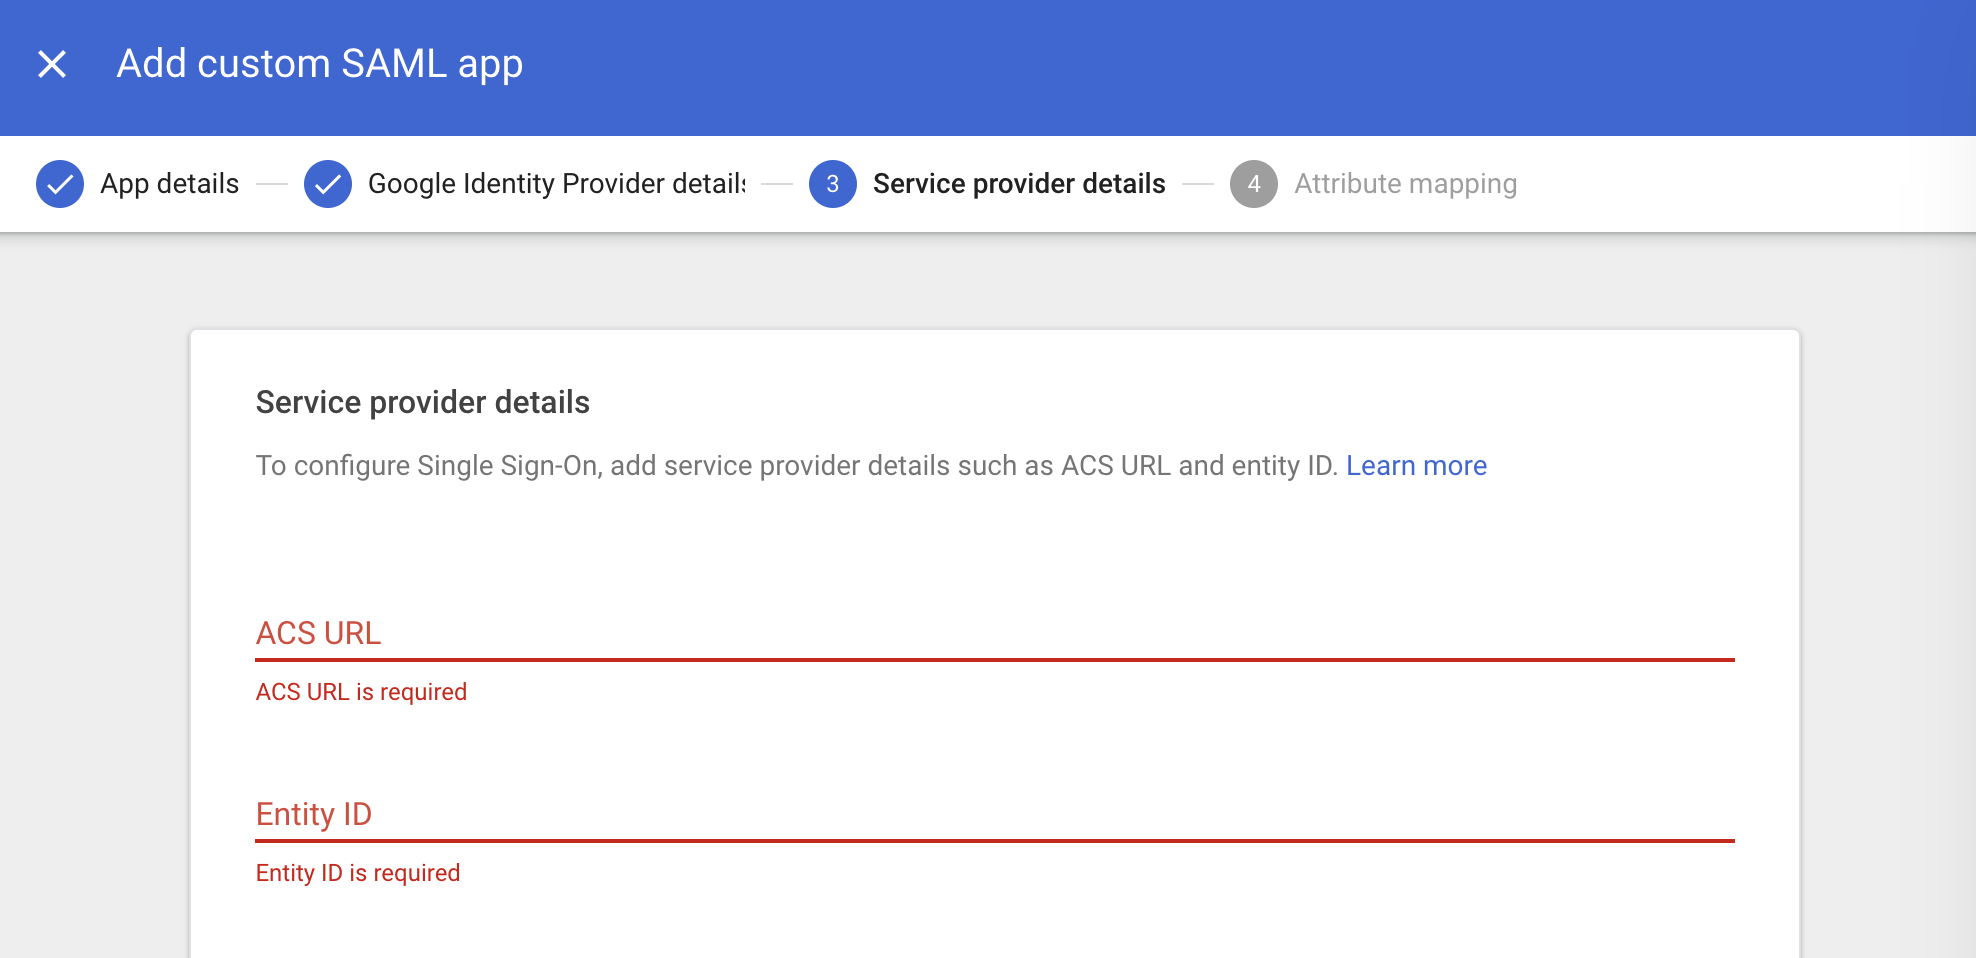
- Leave other boxes on the page empty, and select CONTINUE. The Service Provider Details tab is displayed.
3. Add PaperCut details to Google Workspace
Both URLs below are also available on the PaperCut Add SSO configuration page.
- On the Service Provider Details tab in Google Workspace, paste this URL into the ACS URL box:
https://login.papercut.com/__/auth/handler - Copy and paste this unique identifier (Entity ID) into the Entity ID box (where xxxx is the Identifier (Entity ID) from your Hive SSO configuration):
https://login.papercut.com/xxxx - Leave the other boxes on the page empty, and select CONTINUE. The Attribute Mapping page is displayed.
- Leave the boxes on the page empty, and select FINISH.
- Switch to the PaperCut tab.
4. Test configuration
Test that you can log in to PaperCut with an email address associated with the domain(s) you’re setting up for SSO. A test user is always a good option!
- In the Test configuration section:
- Select Test configuration. A pop-up window is displayed.
- Log in using an account with your SSO-related credentials from the domain you configured.
- Wait until a test result is displayed.
- Select Return to SSO configuration to return to the configuration page.
- In the Enable configuration section:
- If you’re ready to immediately allow SSO access to PaperCut Hive or Pocket via this configuration, select Yes, enable now.
- If you’re not ready to start using this configuration, select No, enable later and save the configuration. You can return to enable it at any time. Before enabling it, test the configuration again.
- Select Save. The Authentication page is displayed.
- Check that your SSO configuration is enabled/disabled, according to your previous “Enable configuration” selection. If enabled, use a test account to check that SSO is working.


Comments